Watercolor painting techniques
|
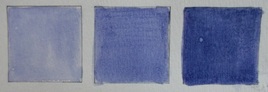
Flat Wash
The most basic watercolor technique is the flat wash. First, wet your paper with water. Then, add some wet watercolor paint and spread it around in the area you’d like with your paintbrush. More water = lighter. Less water = darker. Try a light, medium, and dark. * You can make your own color by mixing two or more colors together in a cup or paint tray- try it for any of the techniques! |
|
|
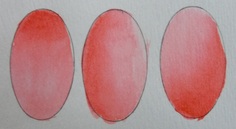
Graded Wash
A graded wash is an area of paint that goes from dark to light. First, wet the paper with water. Then add a dark value of one color to one end of the area. Next, rinse your brush. Then, pull the color out to the other end of the shape. |
|
|
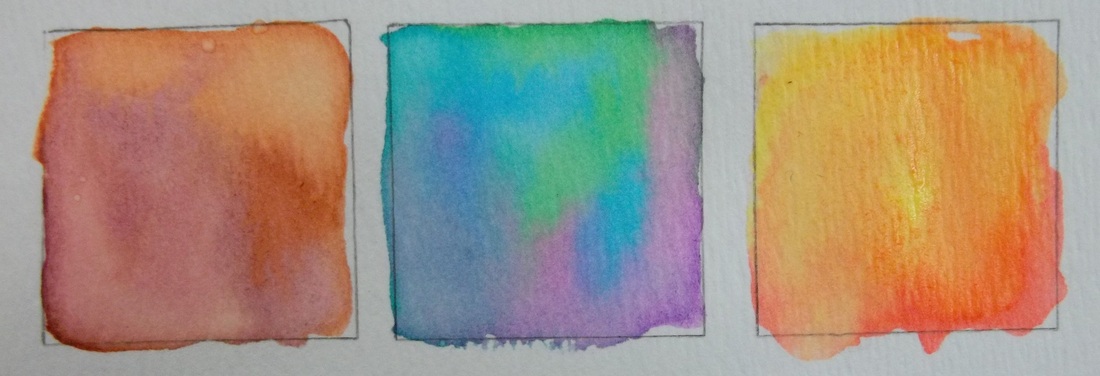
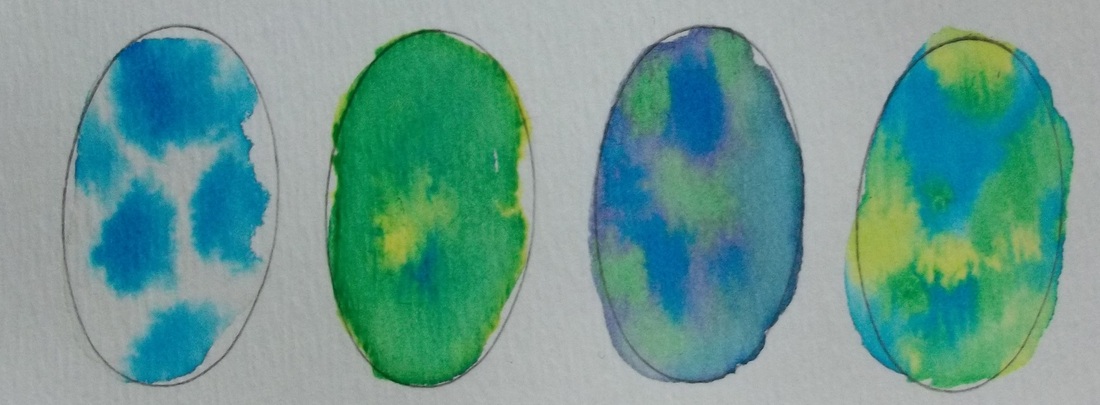
Wet in Wet
Wet in wet is simply adding paint to wet paper. You can also add wet paint to wet paint. When you do this, the colors will overlap and blend, creating an interesting texture. If there’s too much water on your paper, the colors might blend too much or run outside of the shape. The wet in wet technique can be used over a wash that you’ve already painted, as long as the first layer of paint is dry. |
|
|
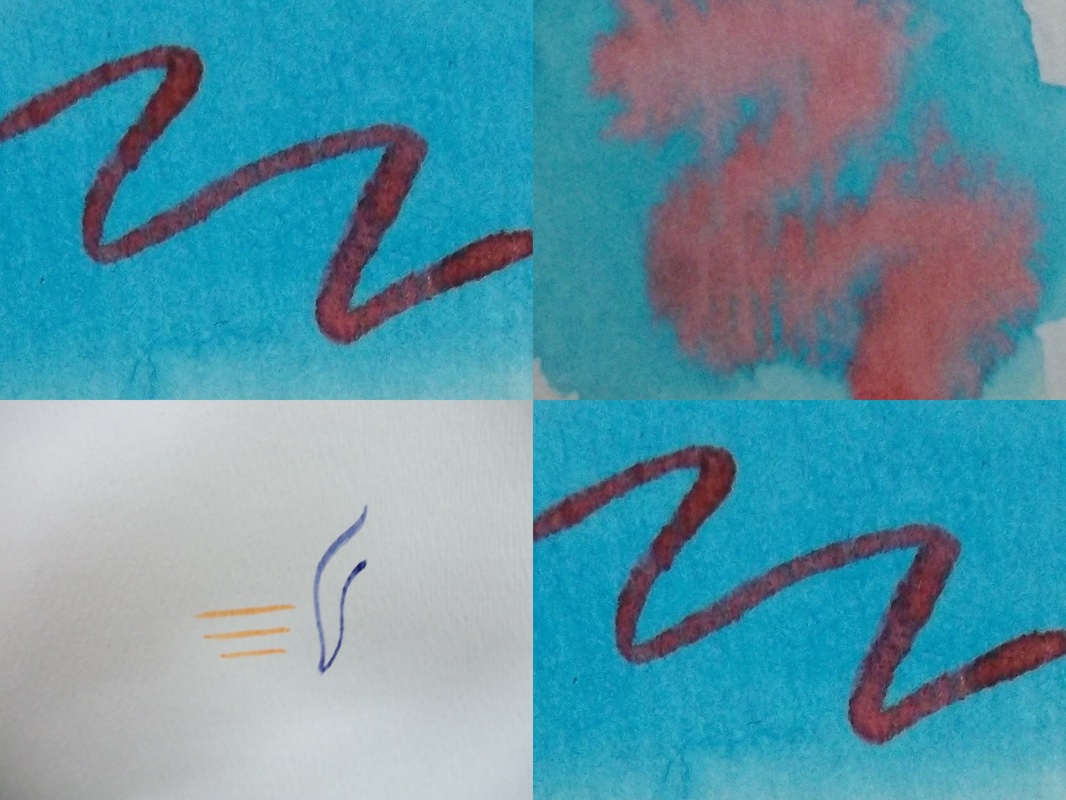
Dry Brush
Dry brush is the almost the opposite watercolor technique to wet in wet. To do this technique, start with watercolor paint that is not mixed with too much water, and add the paint to completely dry paper. The paint will have a very crisp, clean edge, but will also be very dark compared to the other paint. So be careful to use this technique only if you want something to really stand out! |
|
|
Dropping in Color
This technique involves dropping dots of paint and allowing the color to blend and mix with other colors. First, wet the area of the paper that you want to paint. Then, add some color to your paintbrush, and just touch the paper with the tip of the brush. Add two or three other colors in the same manner. |
|
WAtercolor painting demonstration videos:
Image resources
Below is a YouTube link to a nice tutorial on how to draw seashells, complete with demonstration of the ink outlining process.
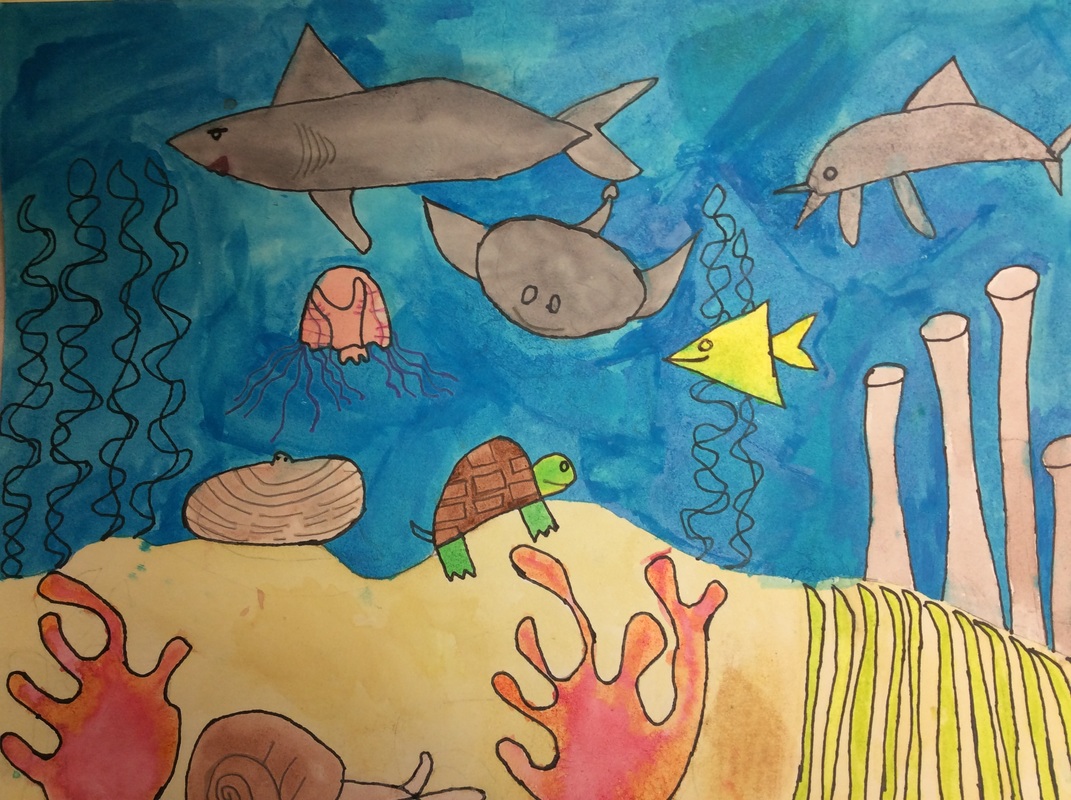
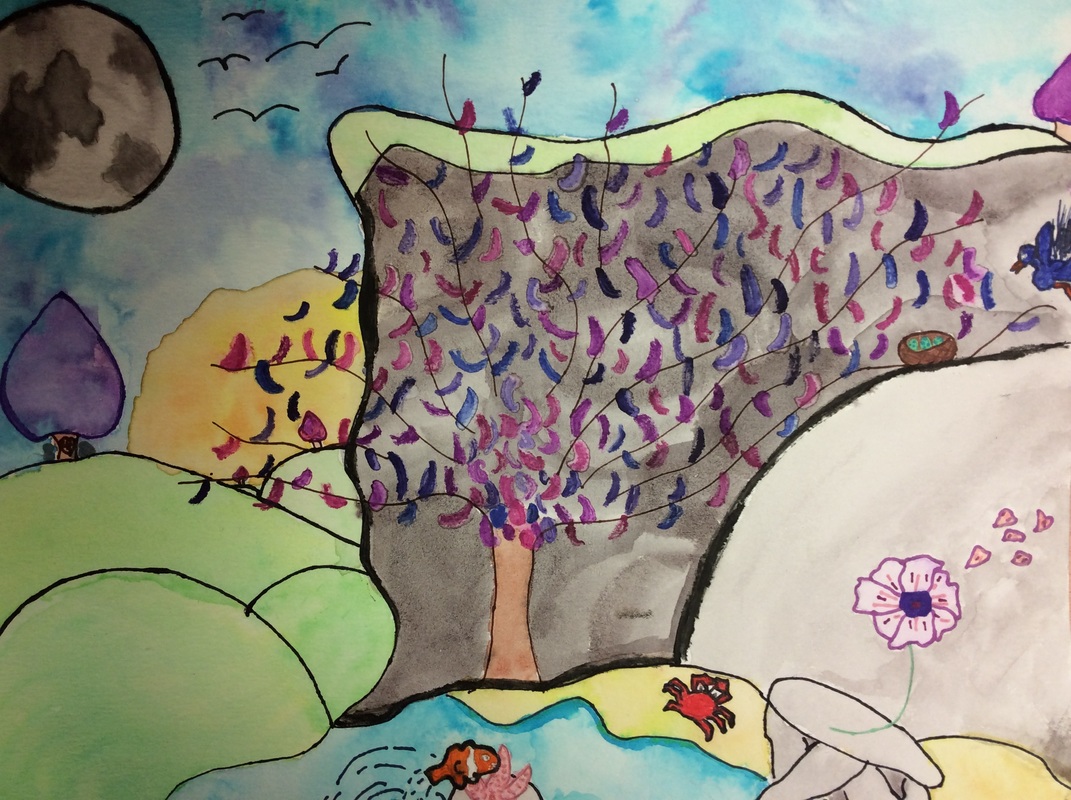
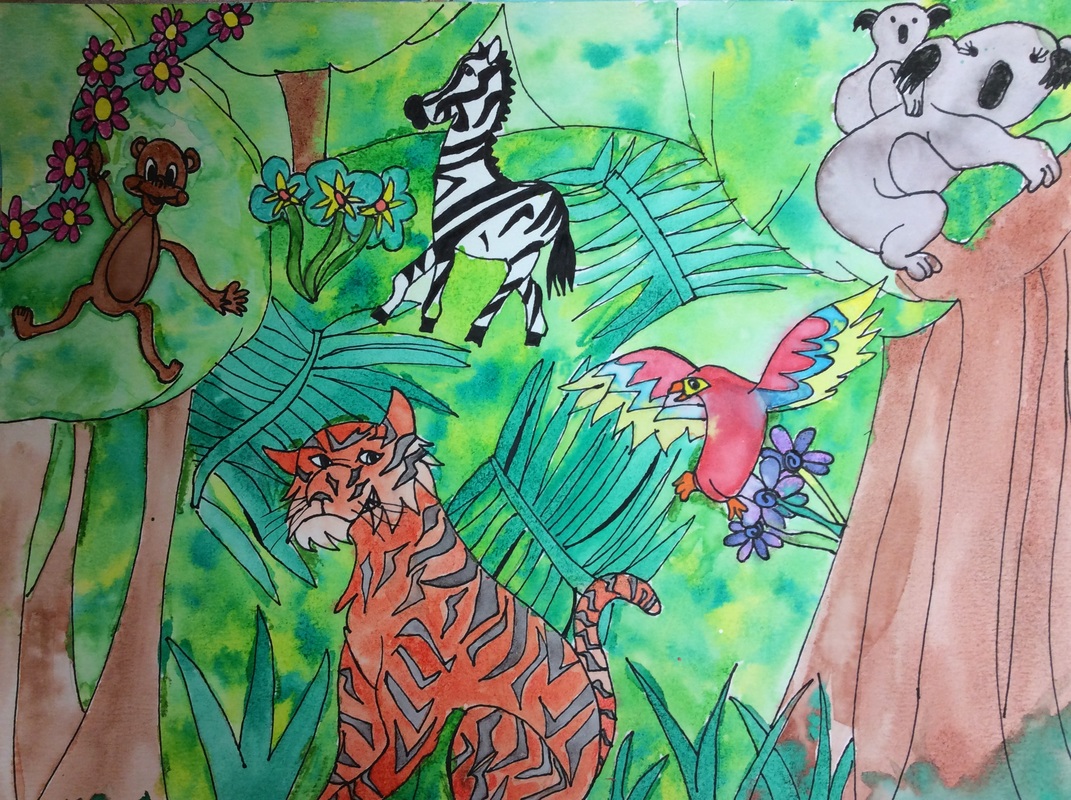
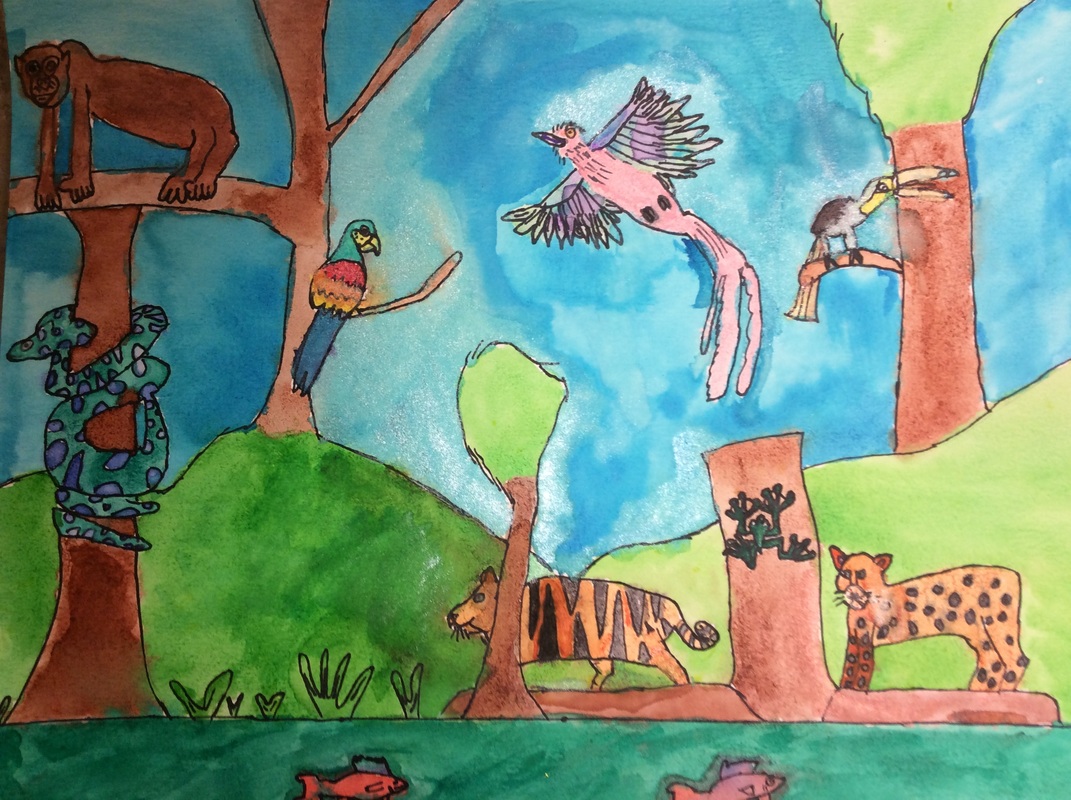
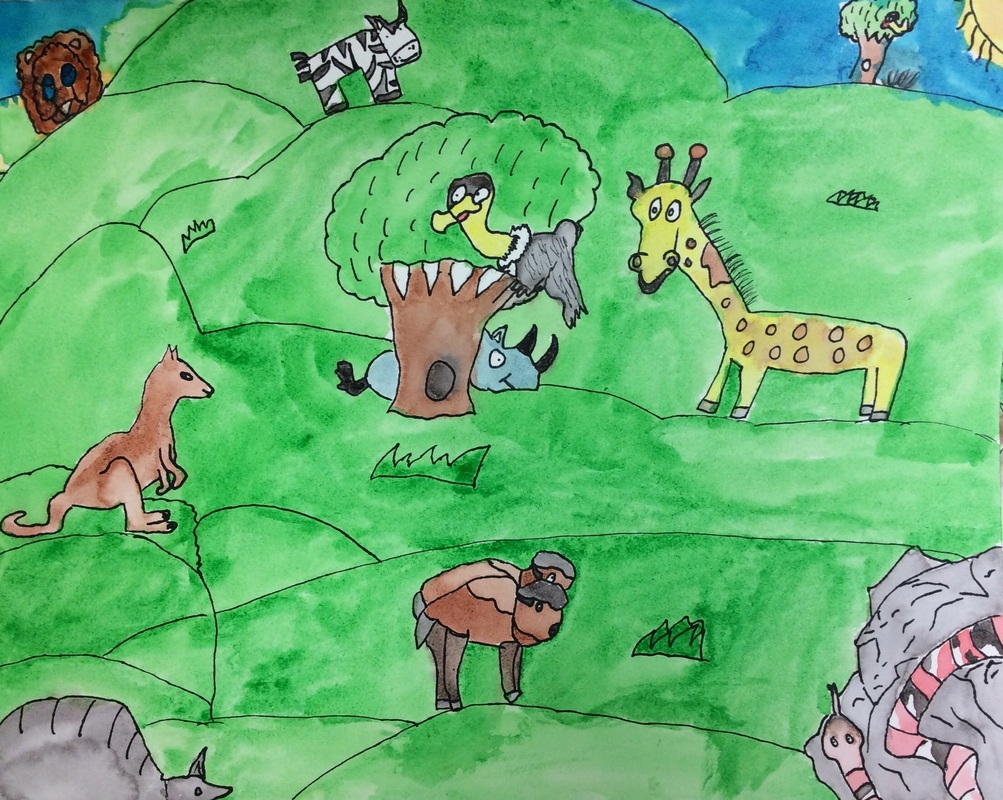
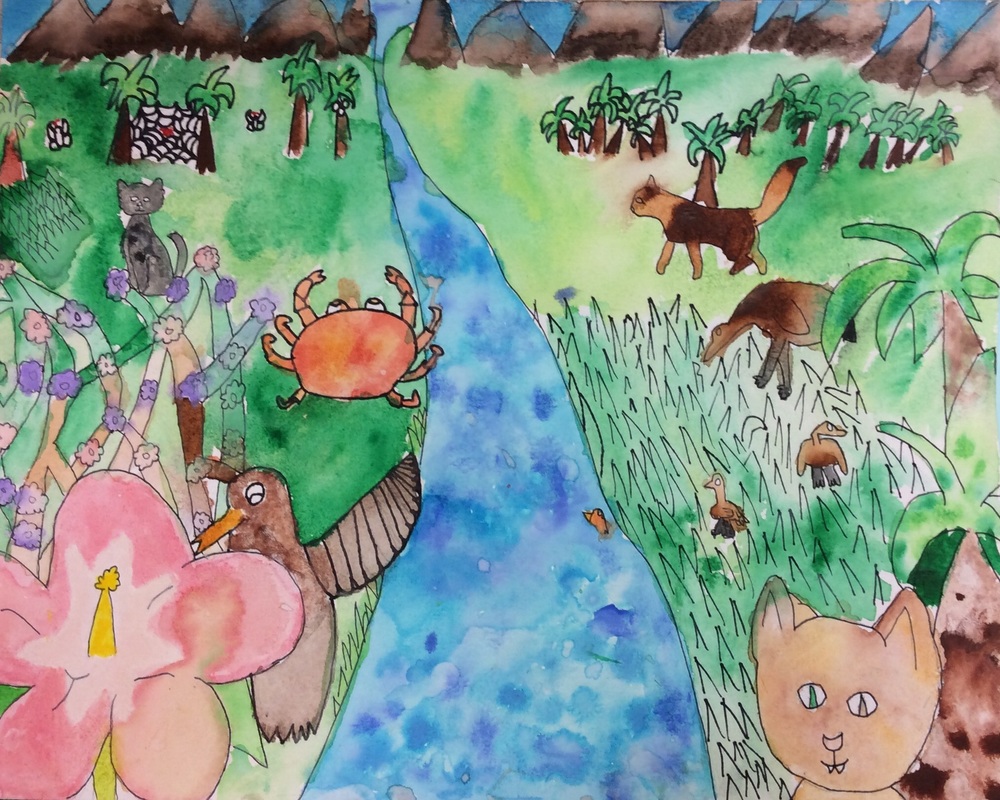
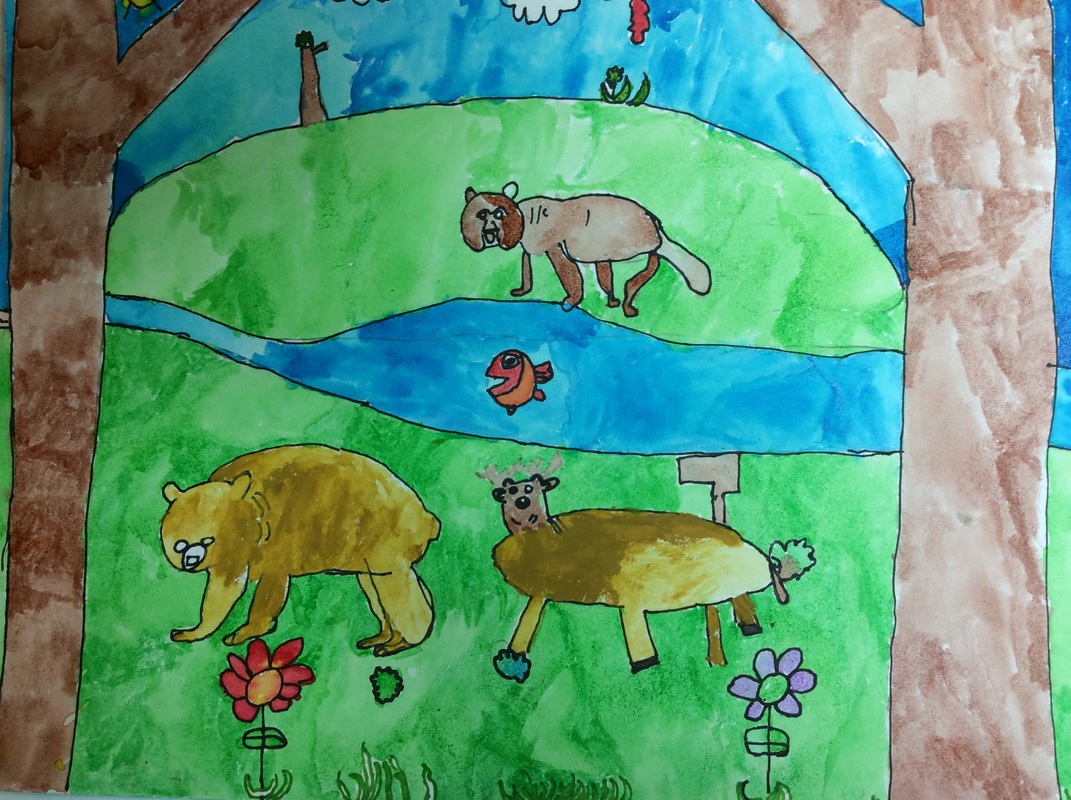
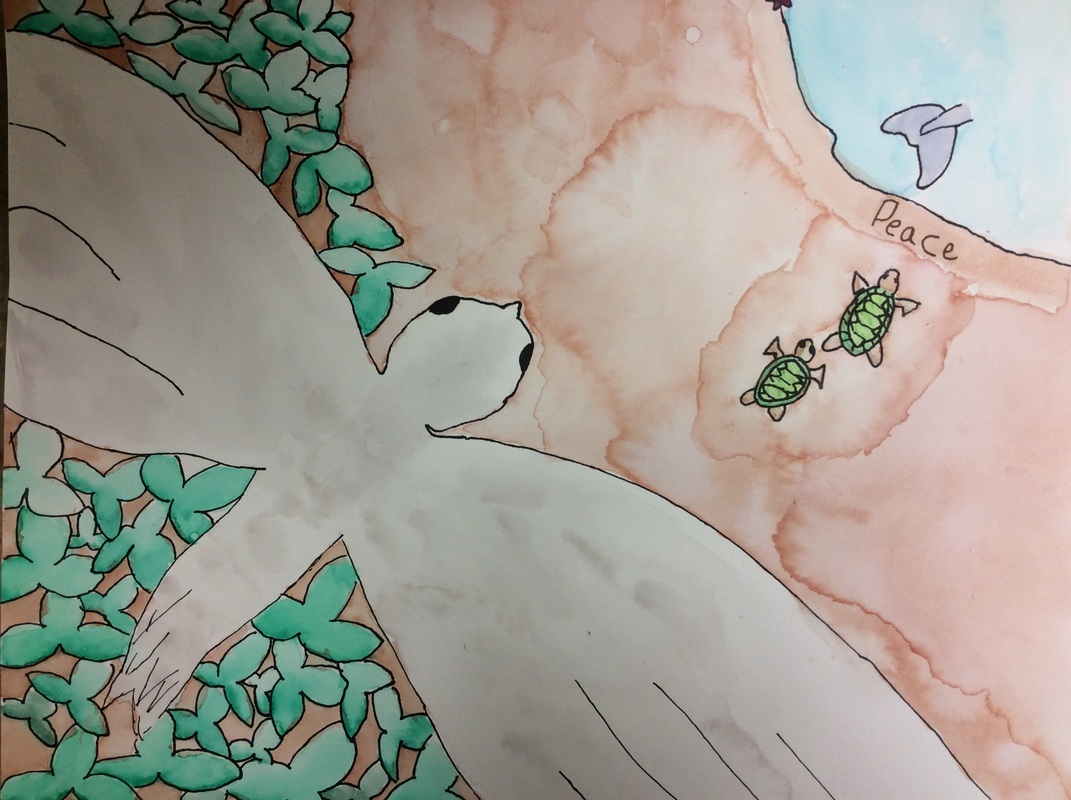
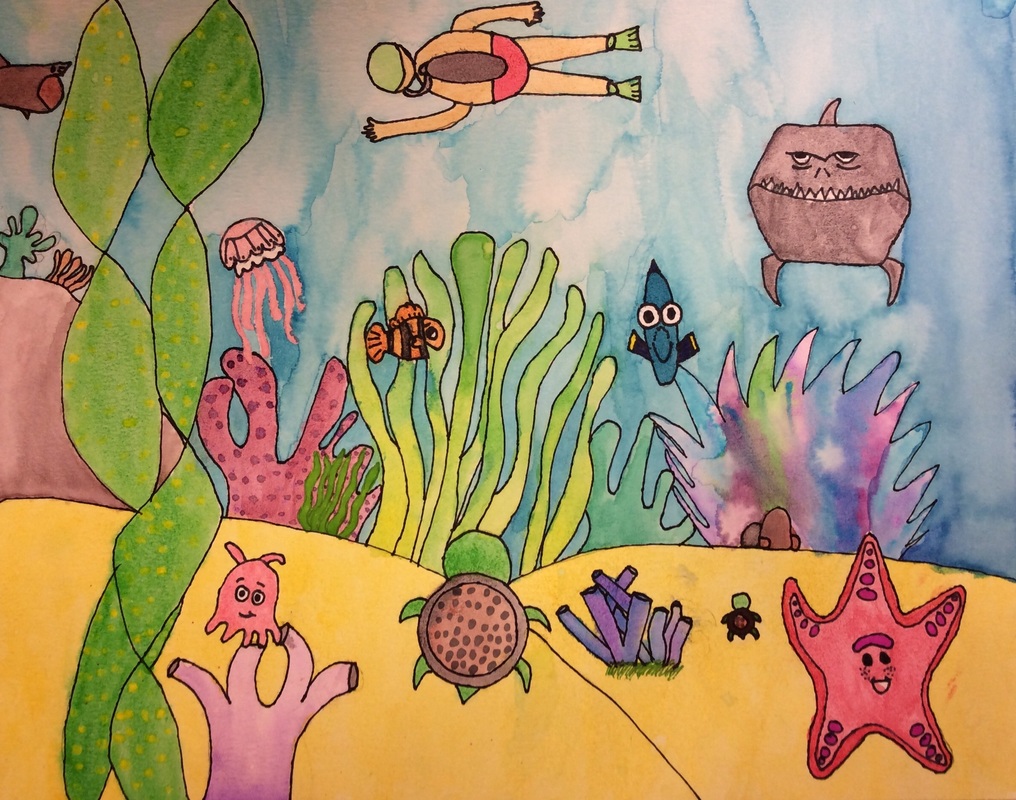
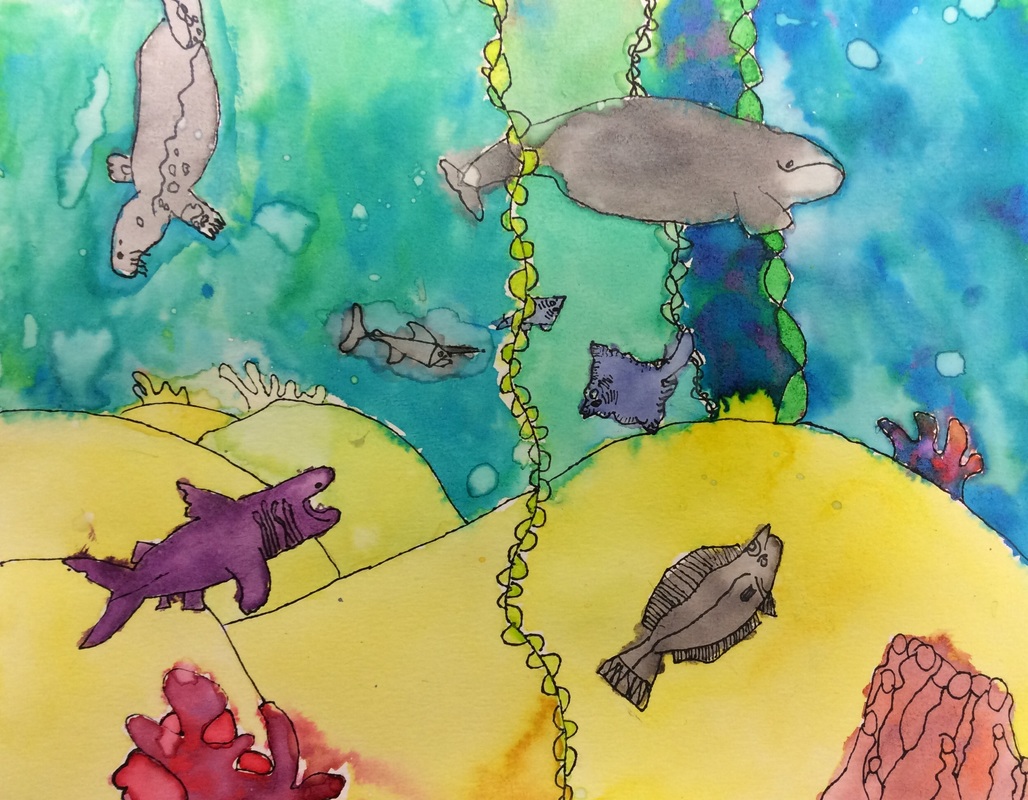
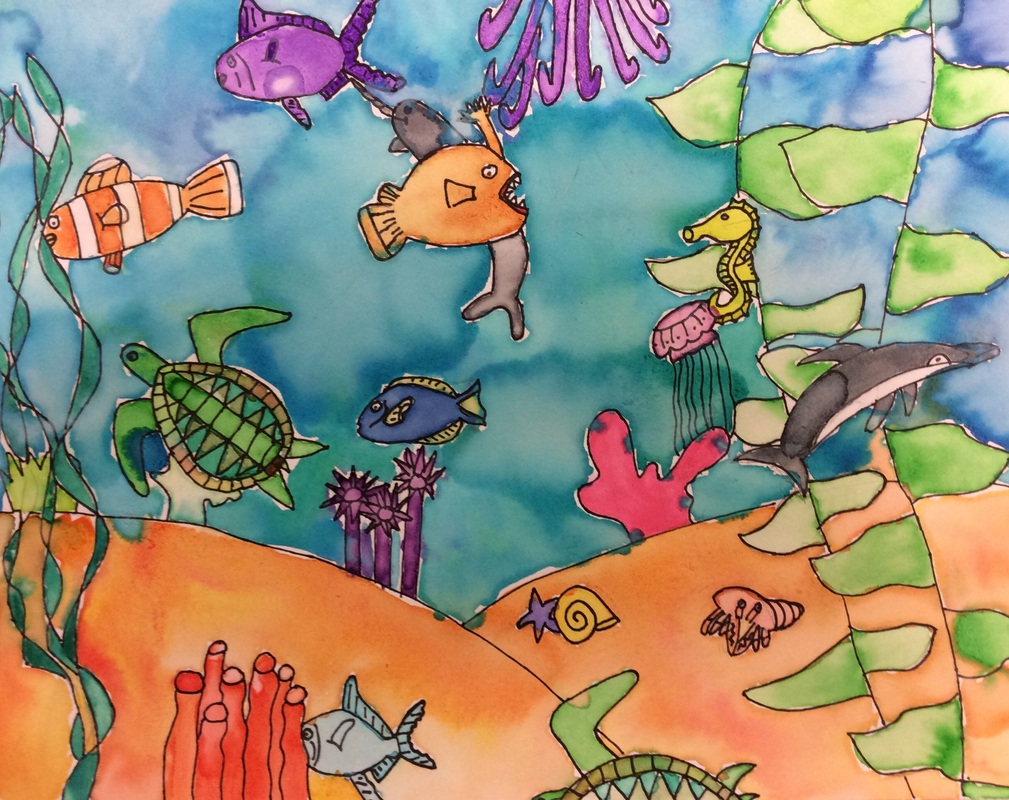
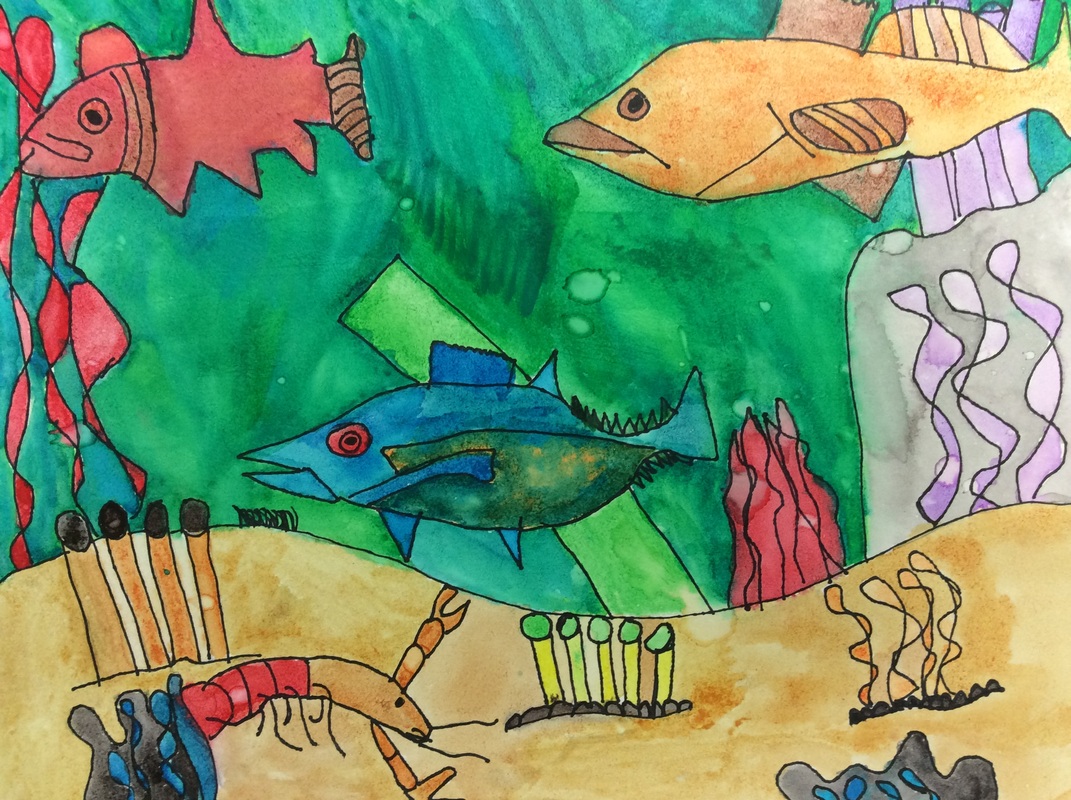
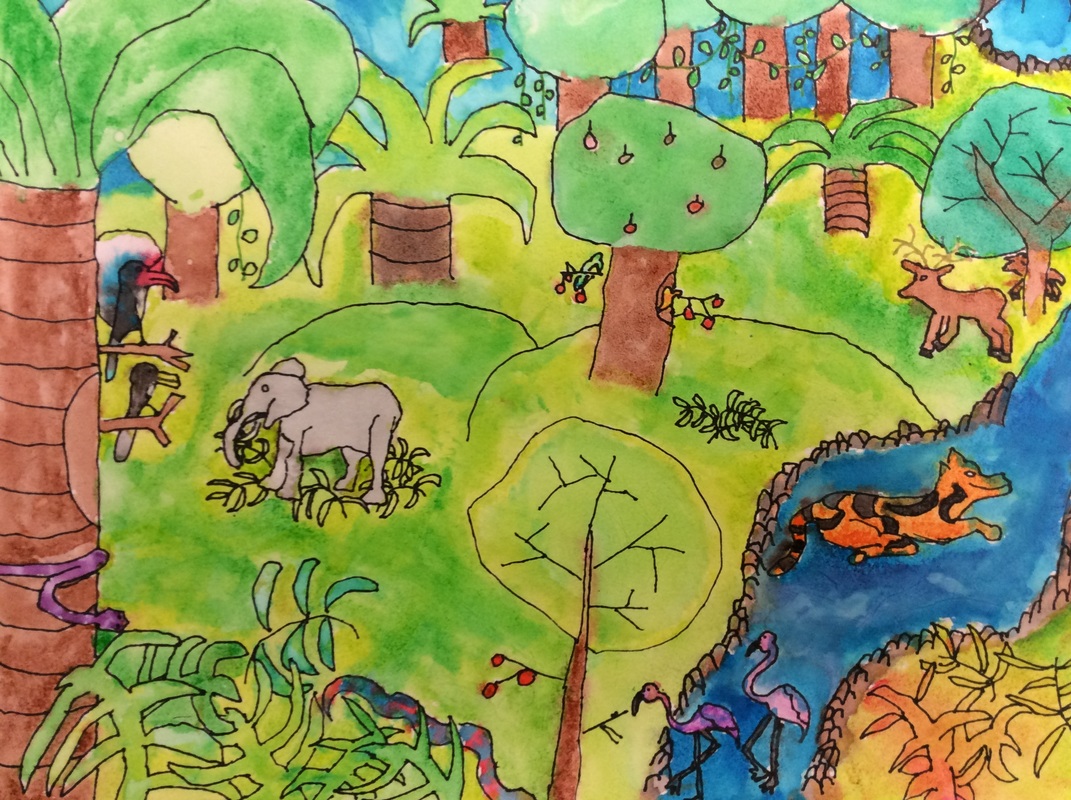
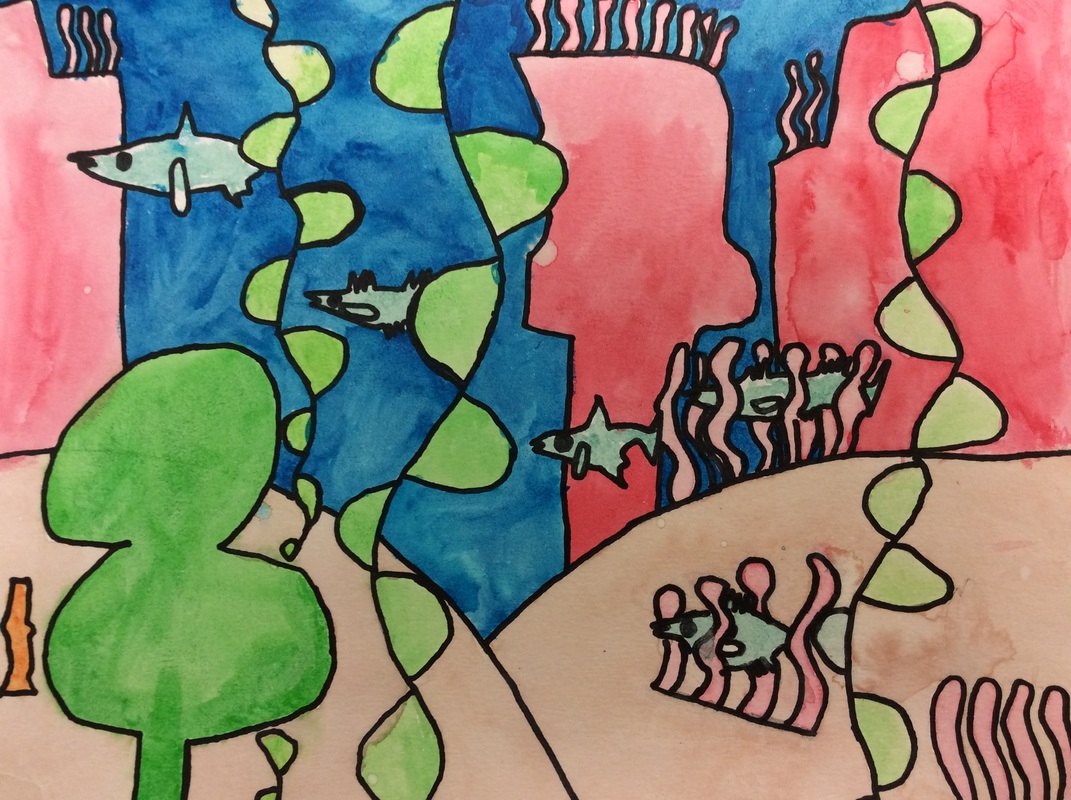
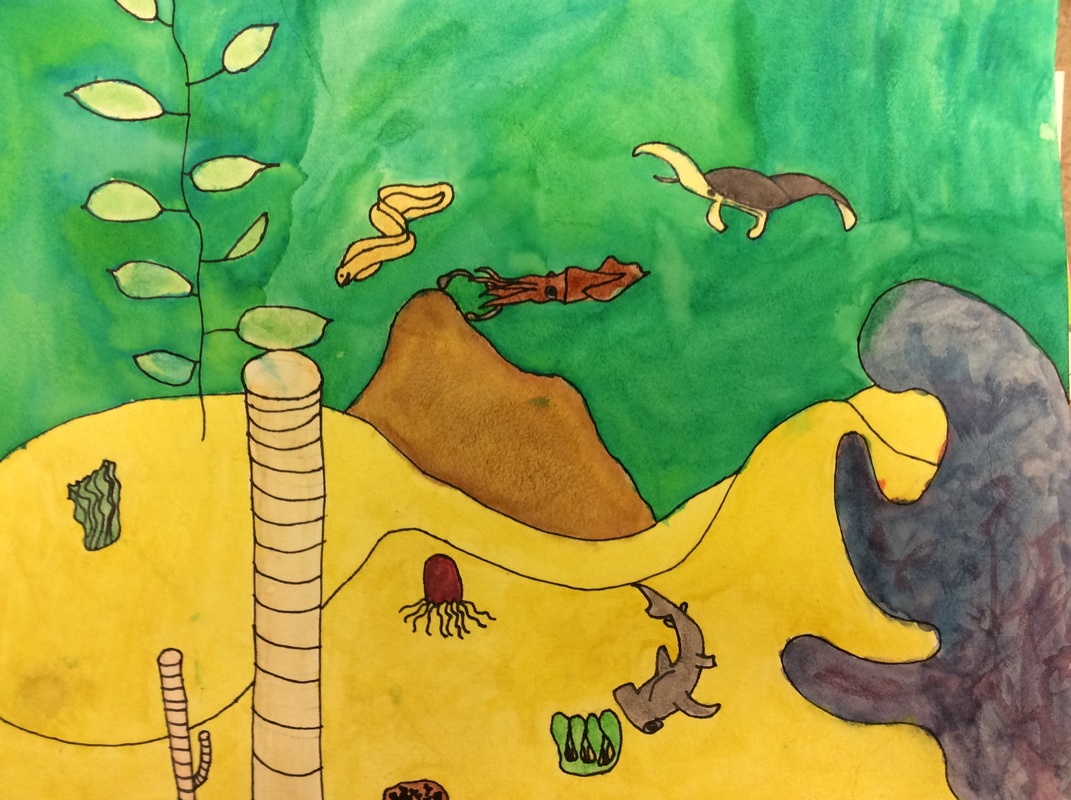
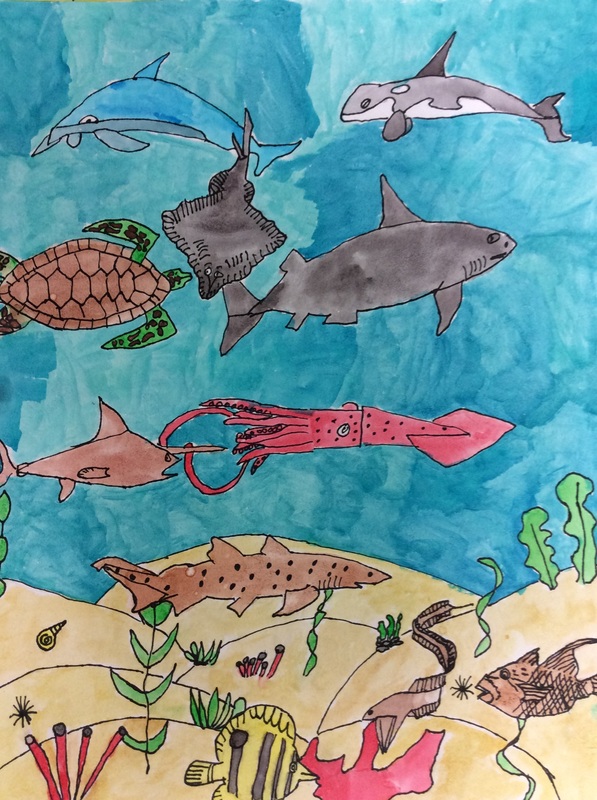
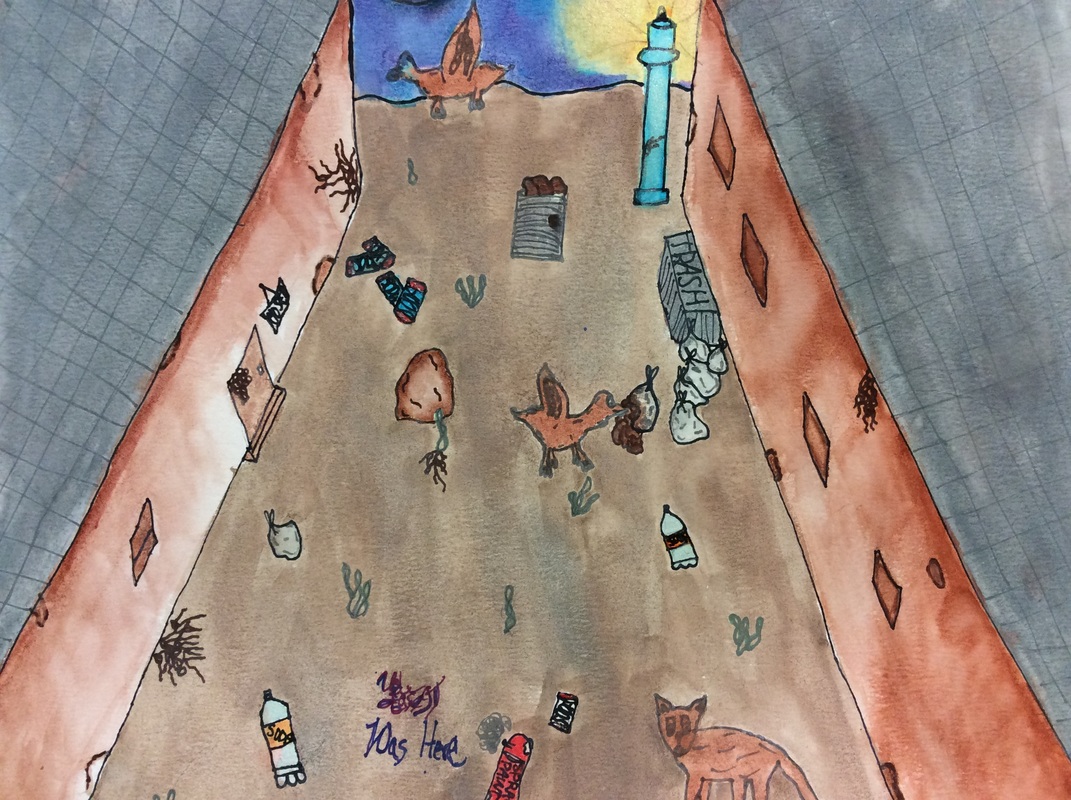
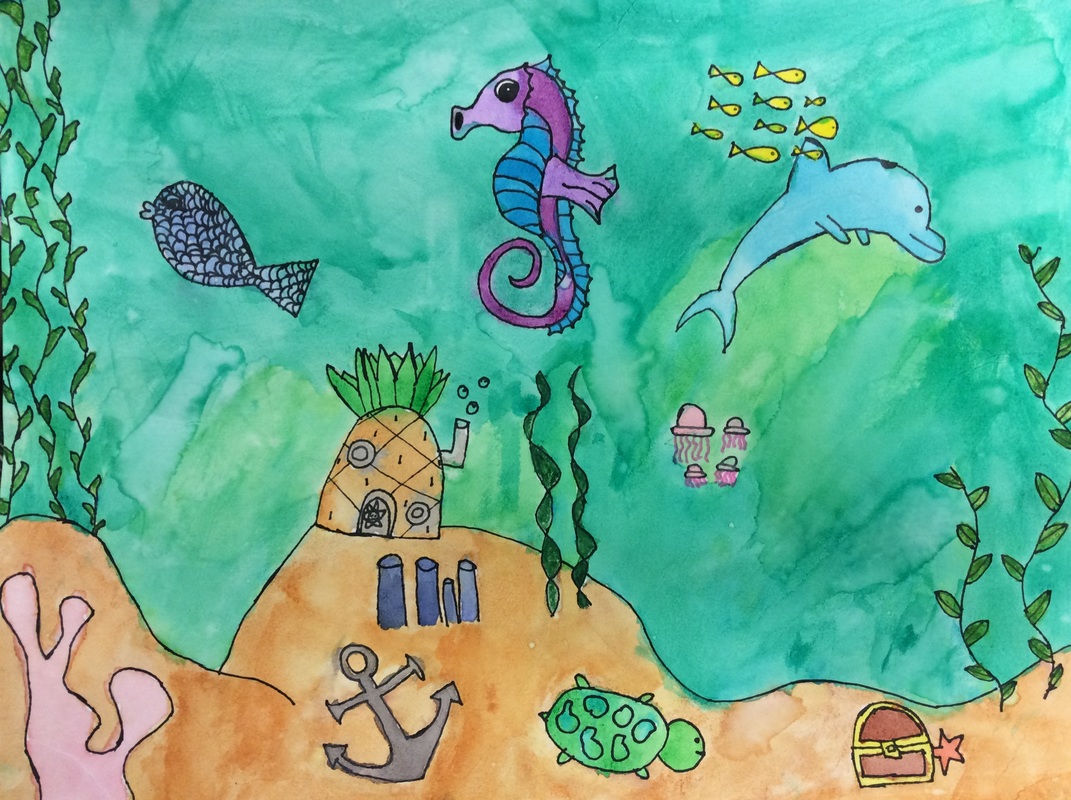
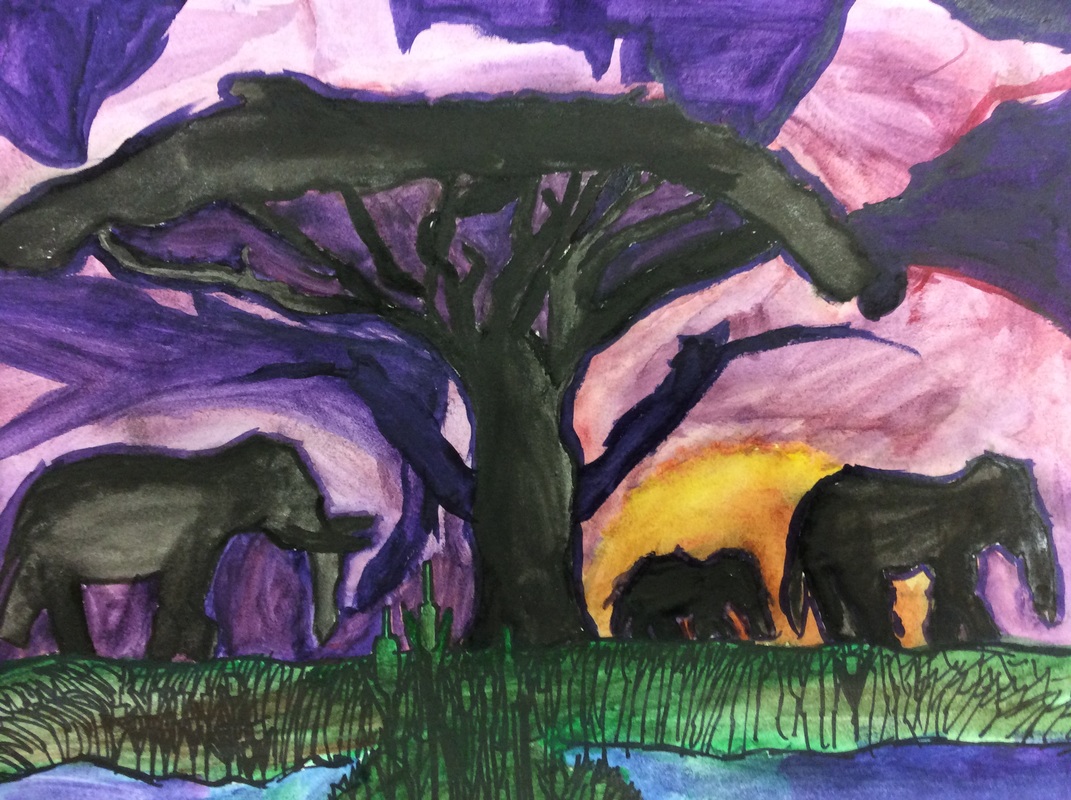
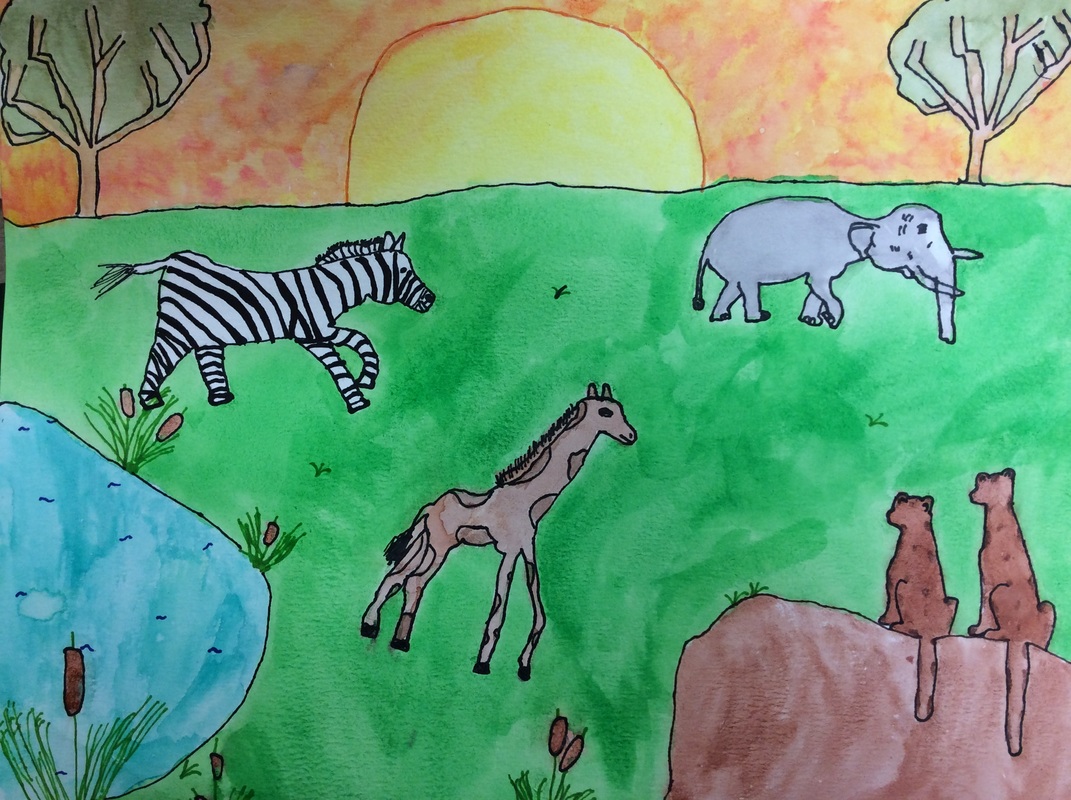
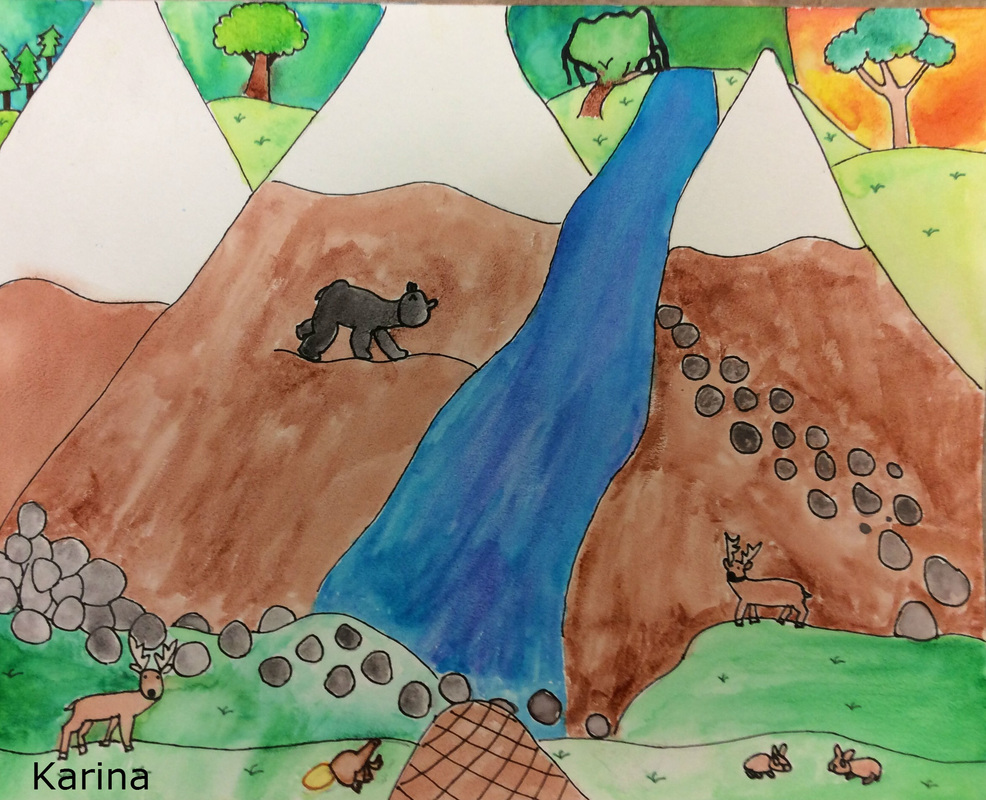
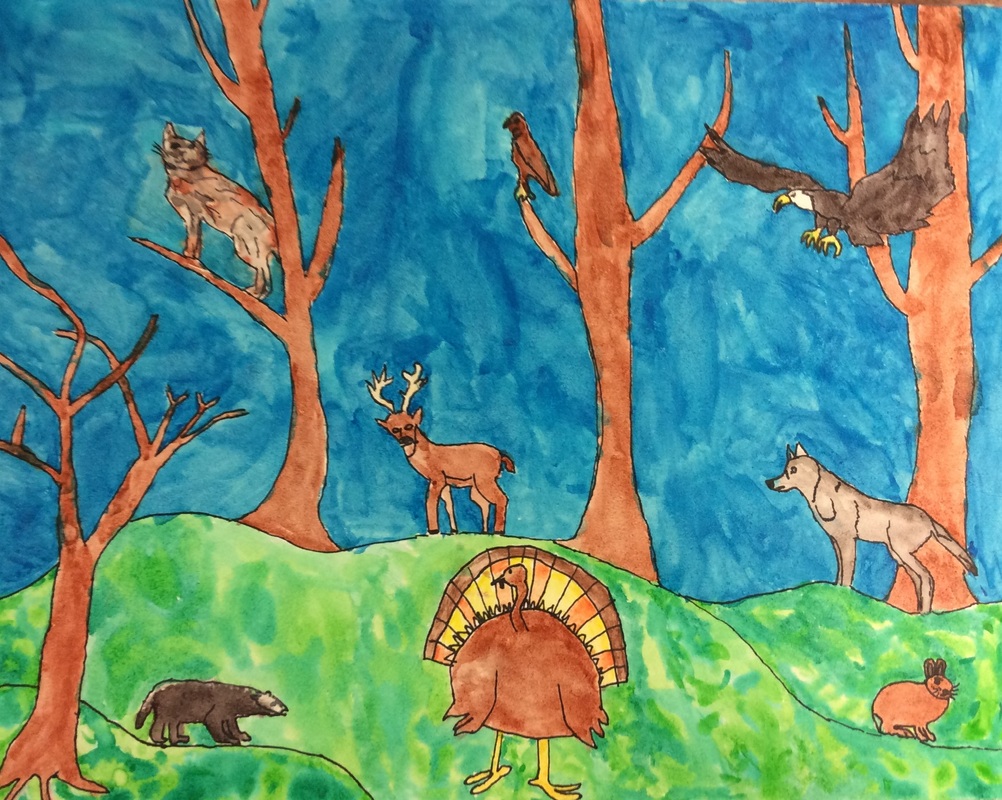
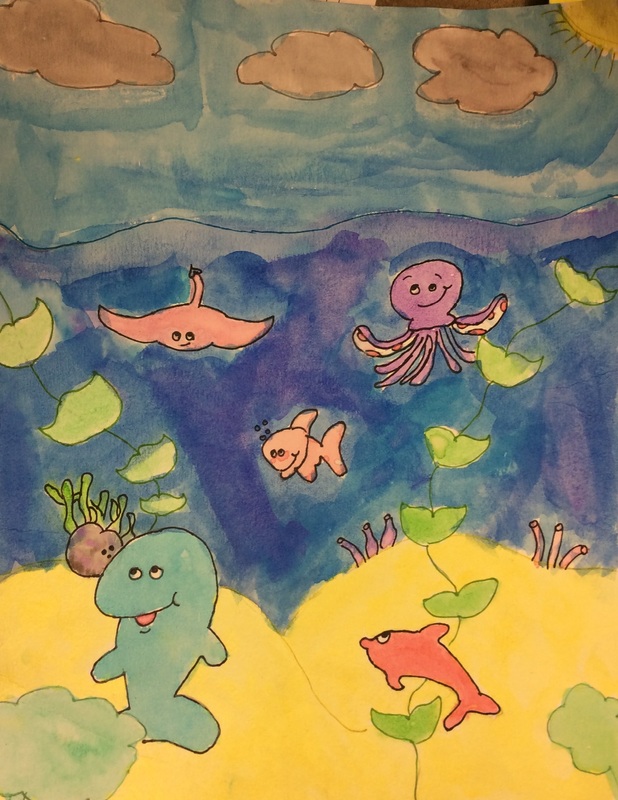
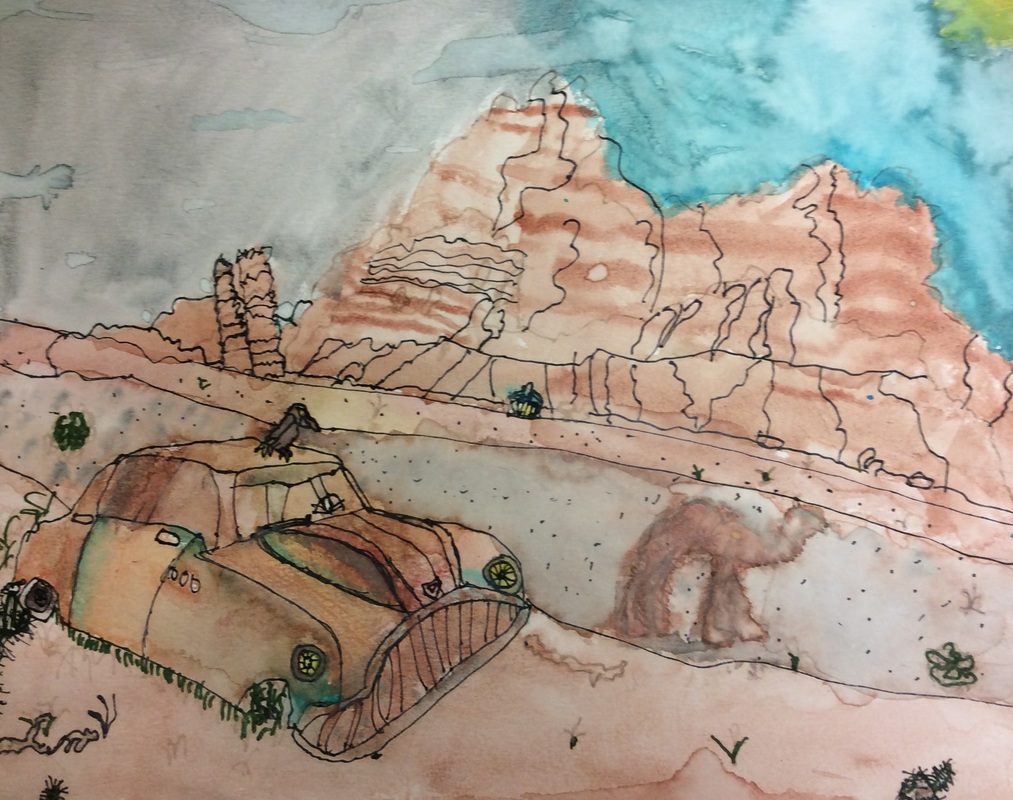
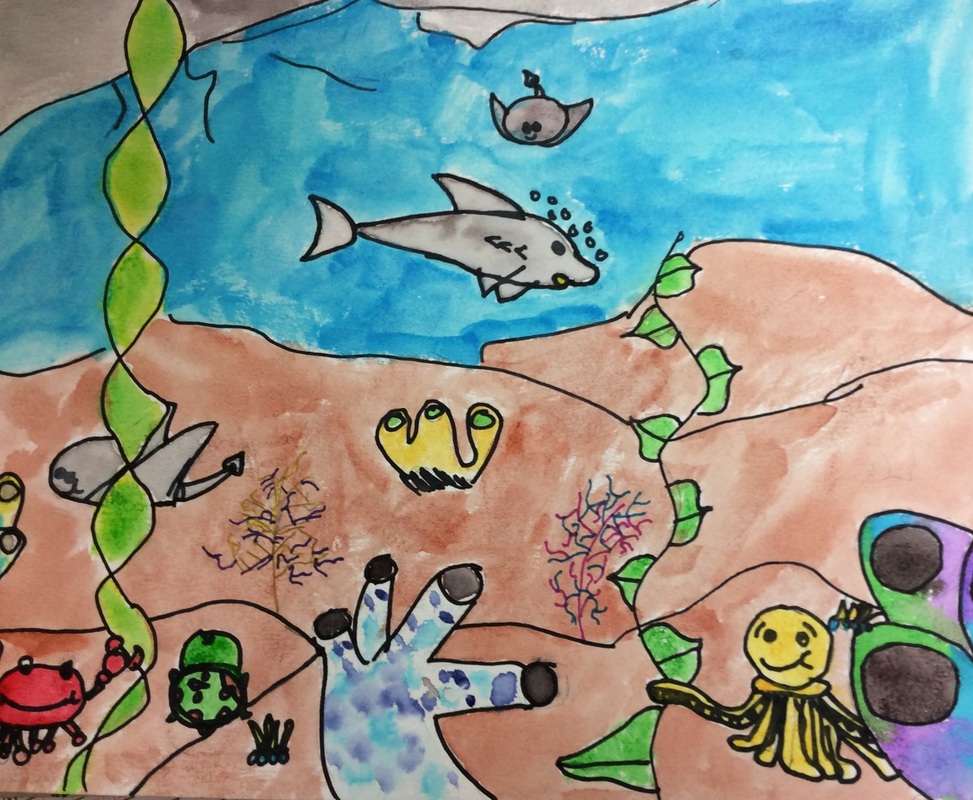
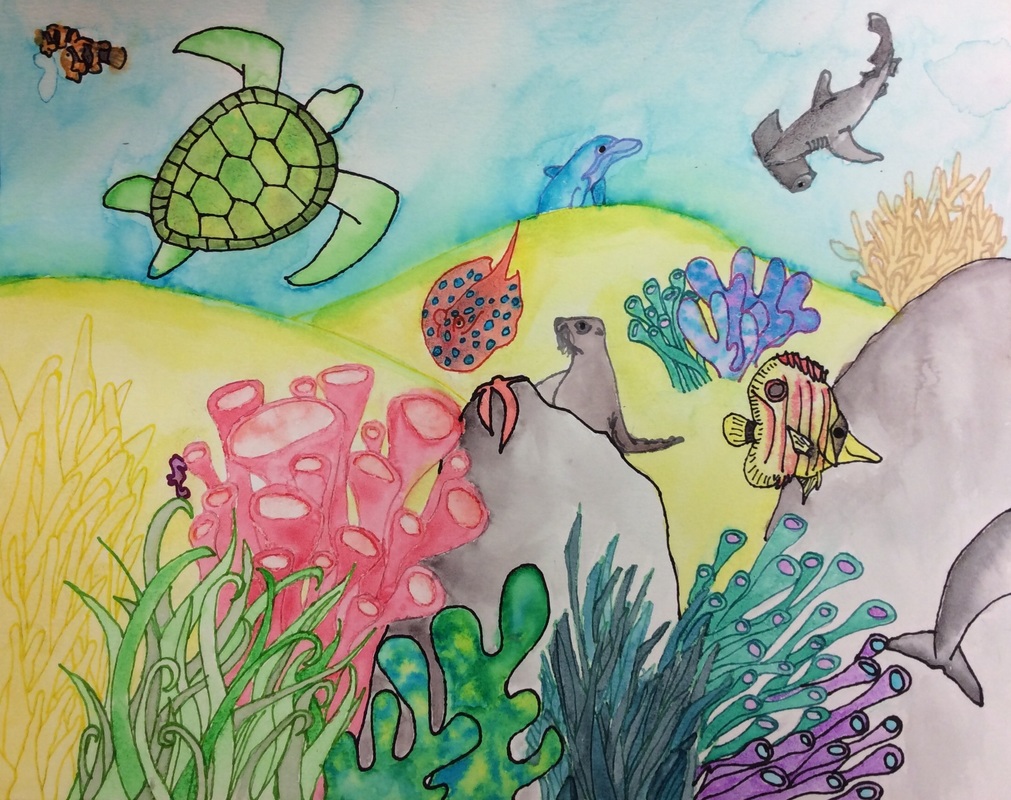
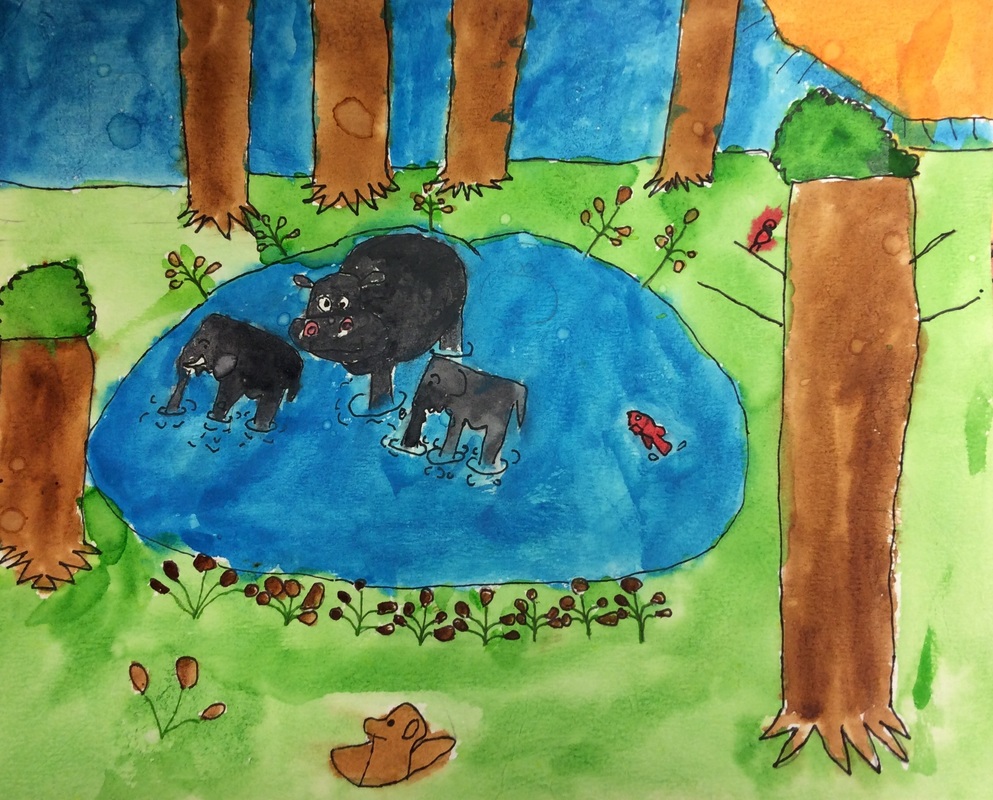
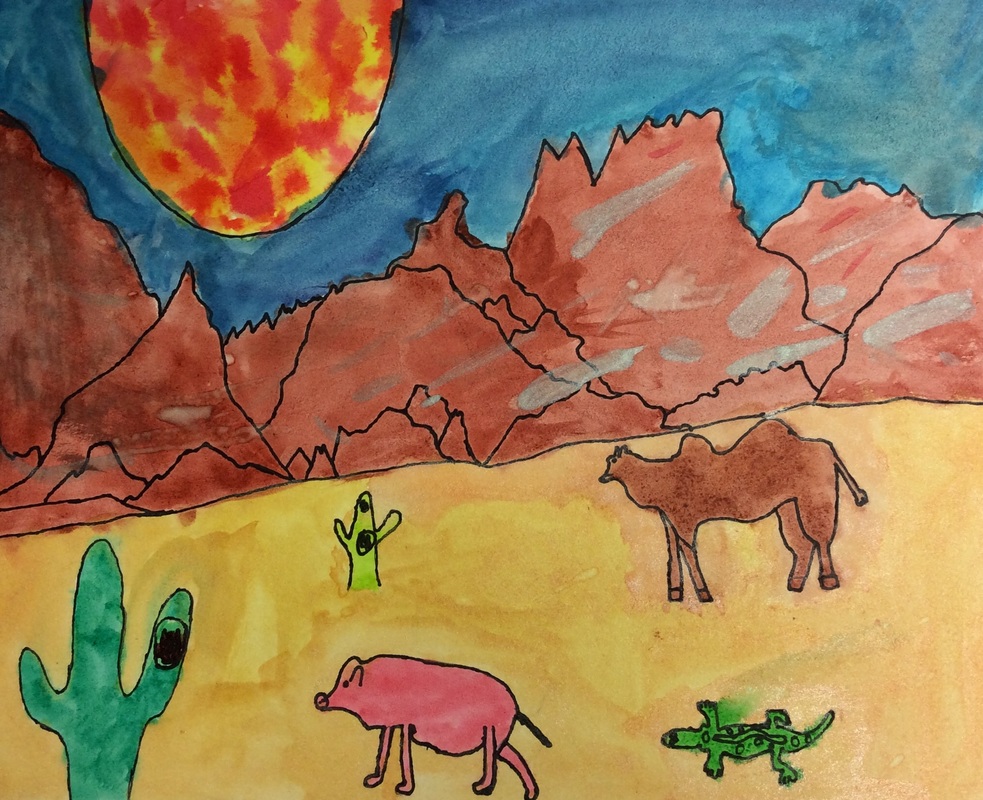
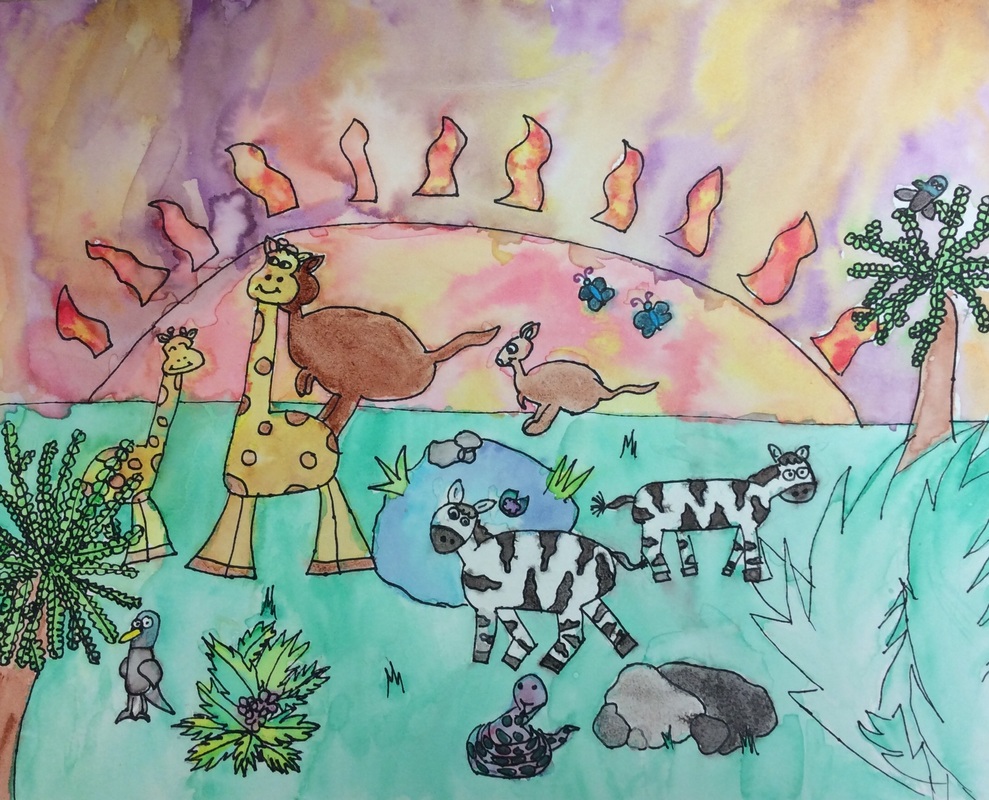
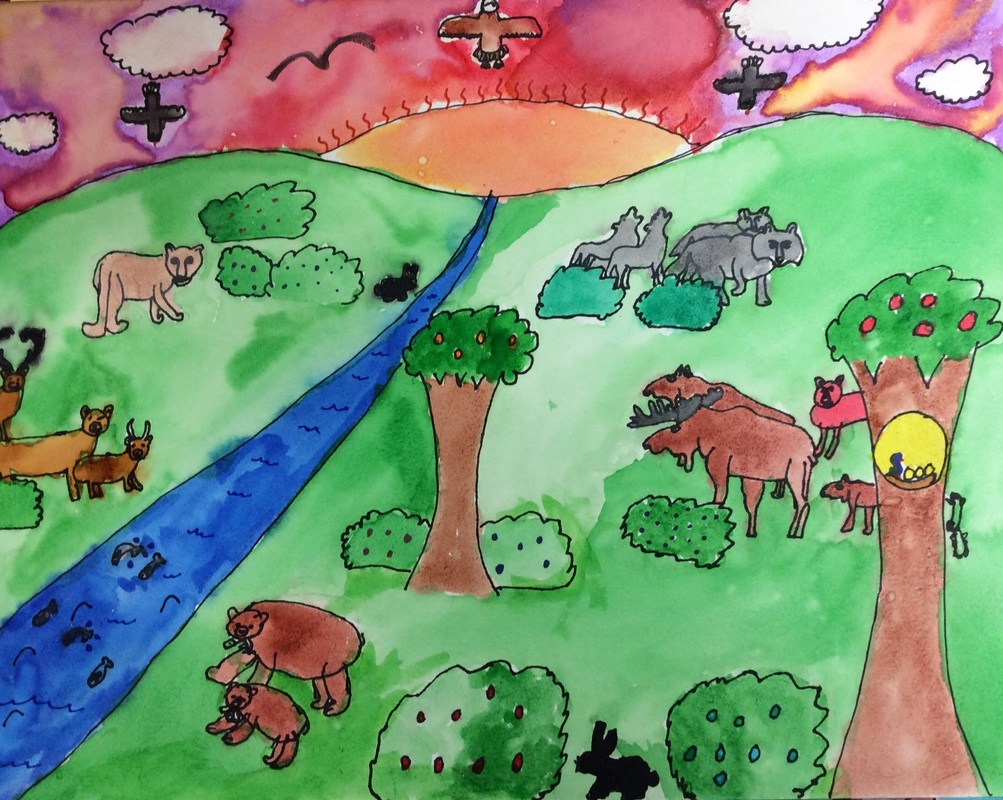
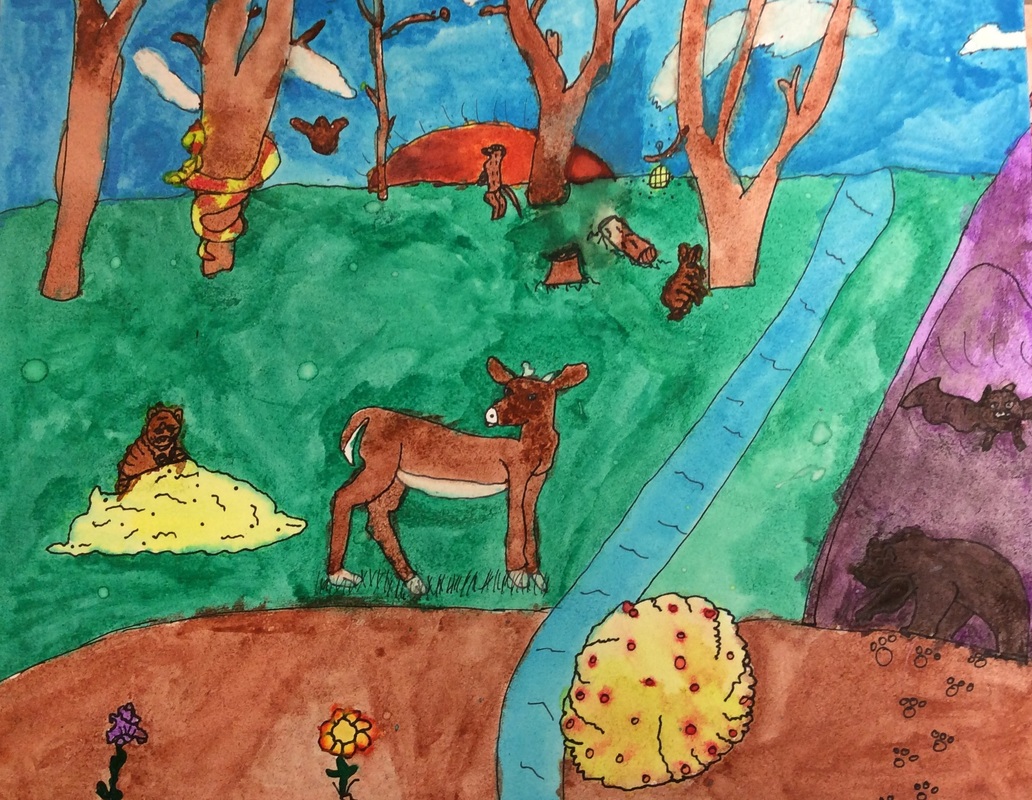
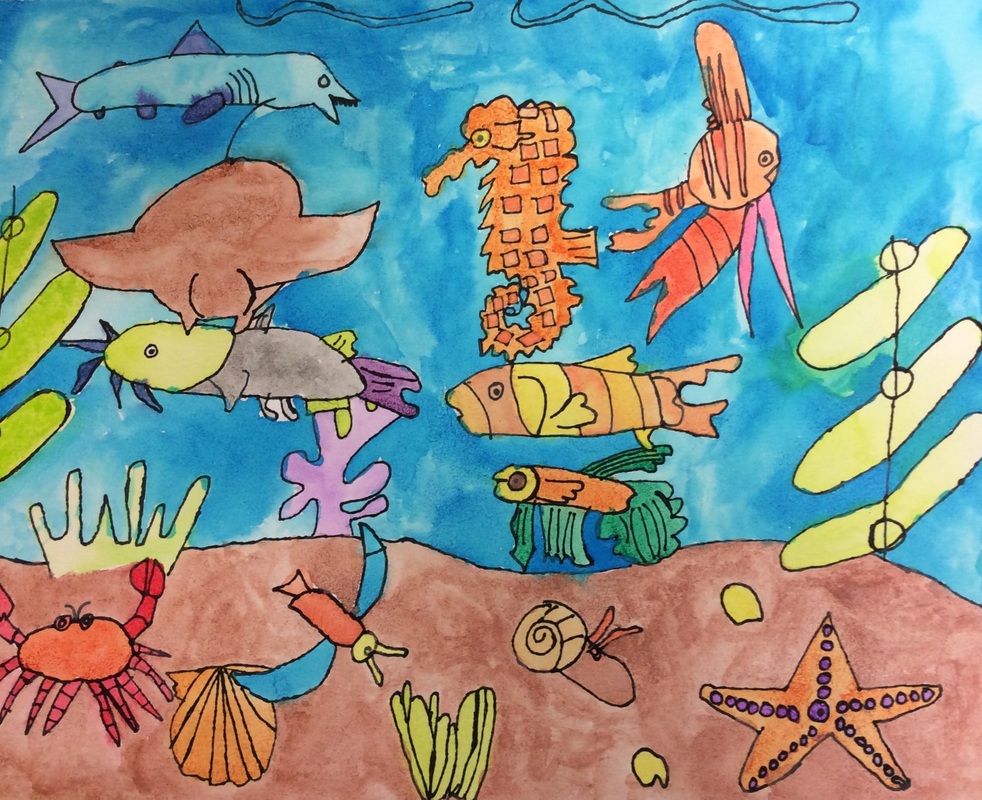
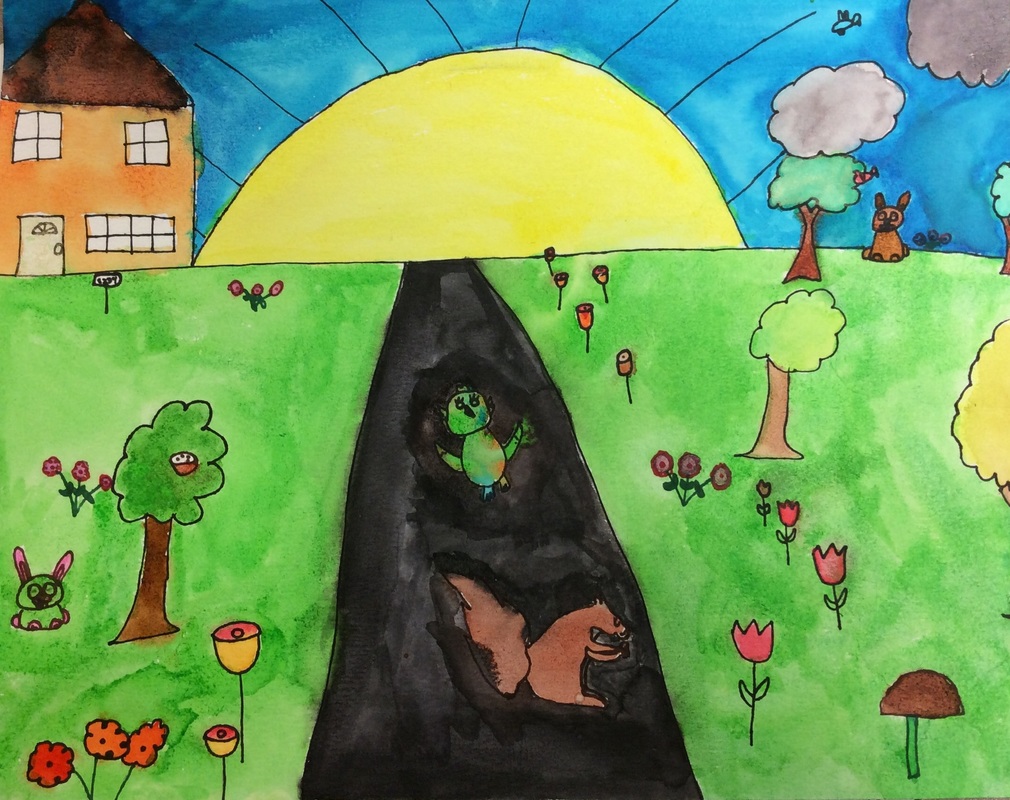
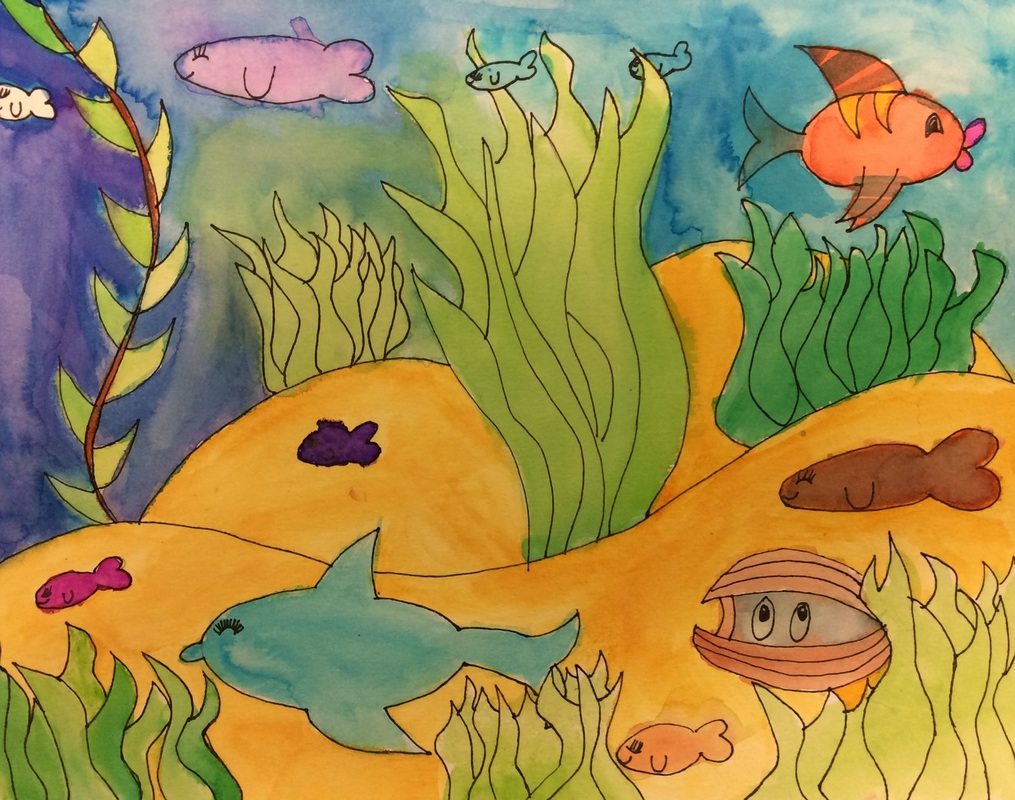
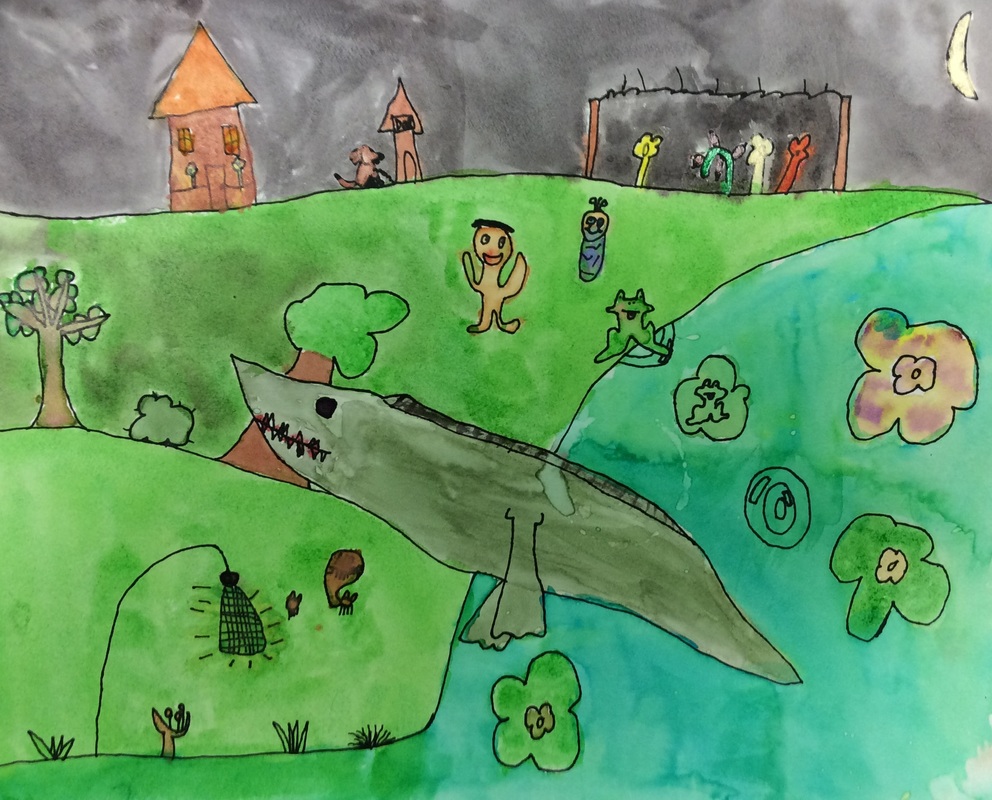
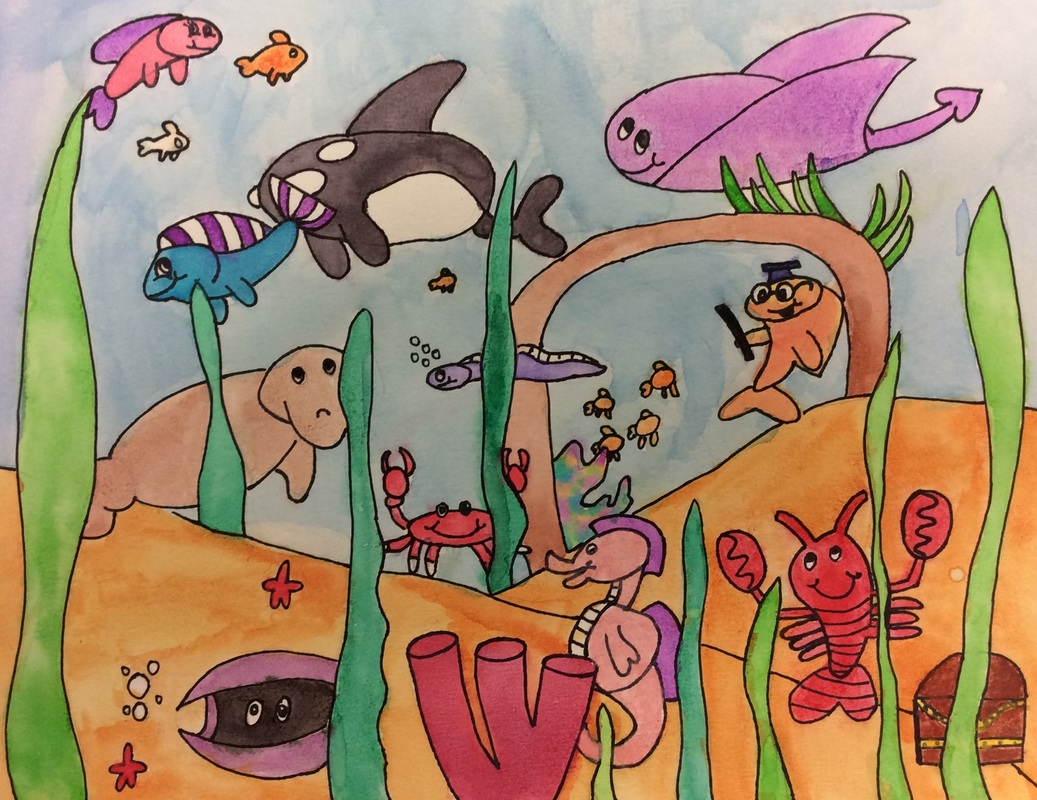
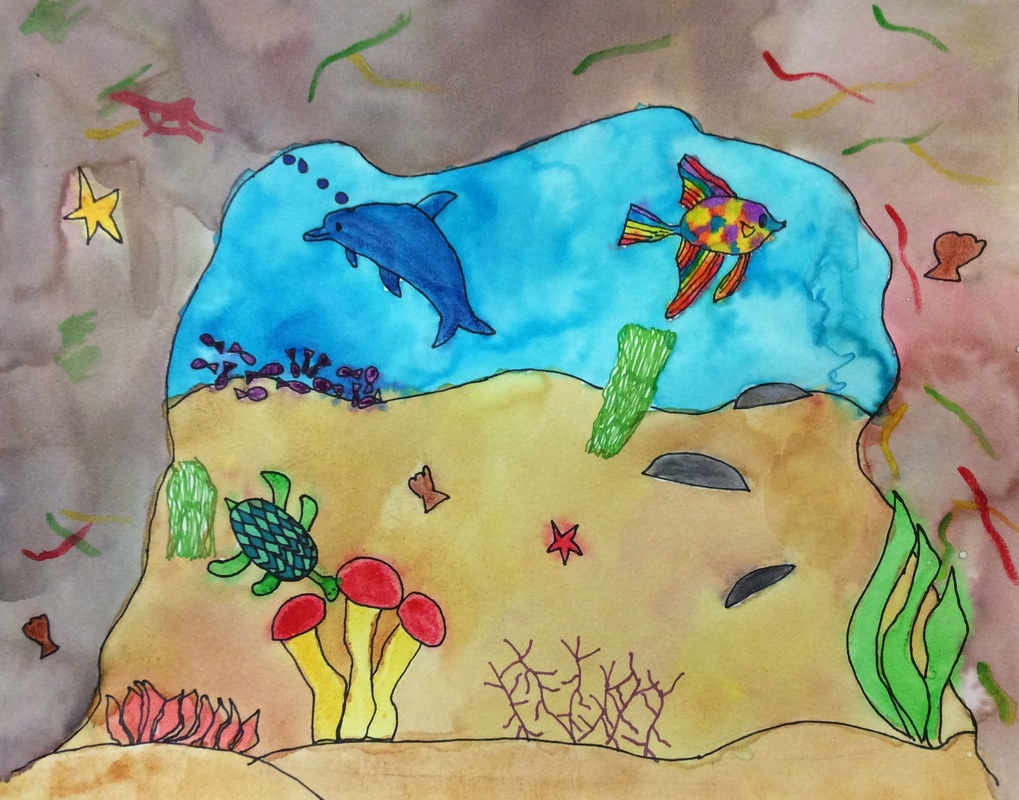
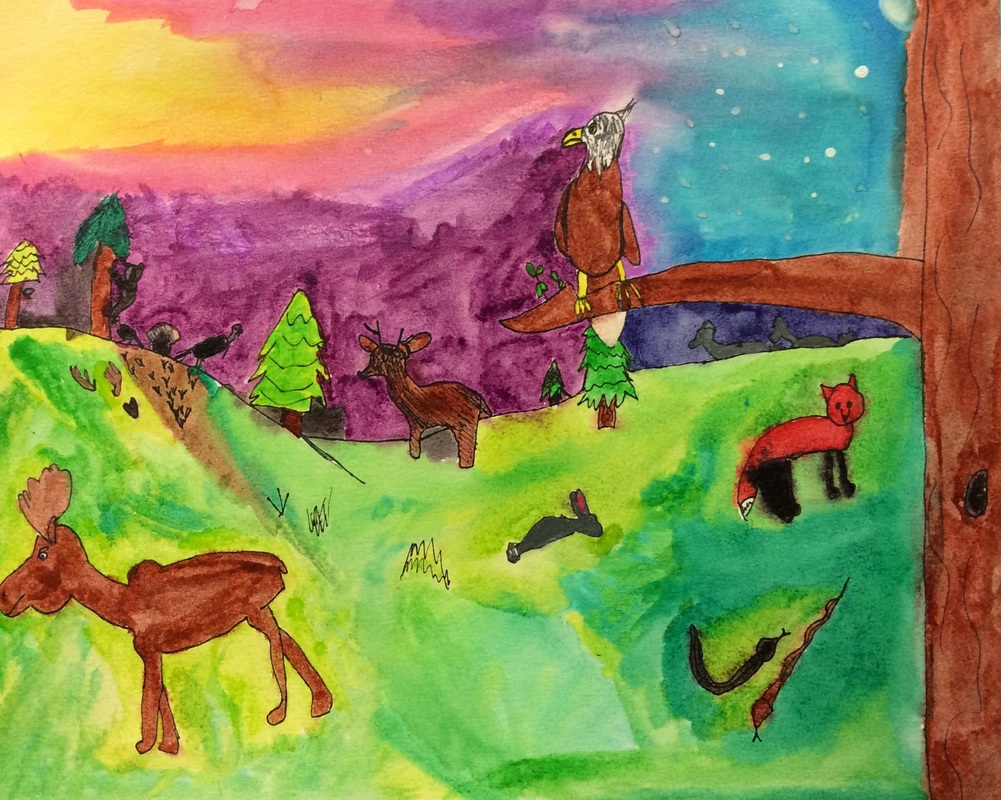
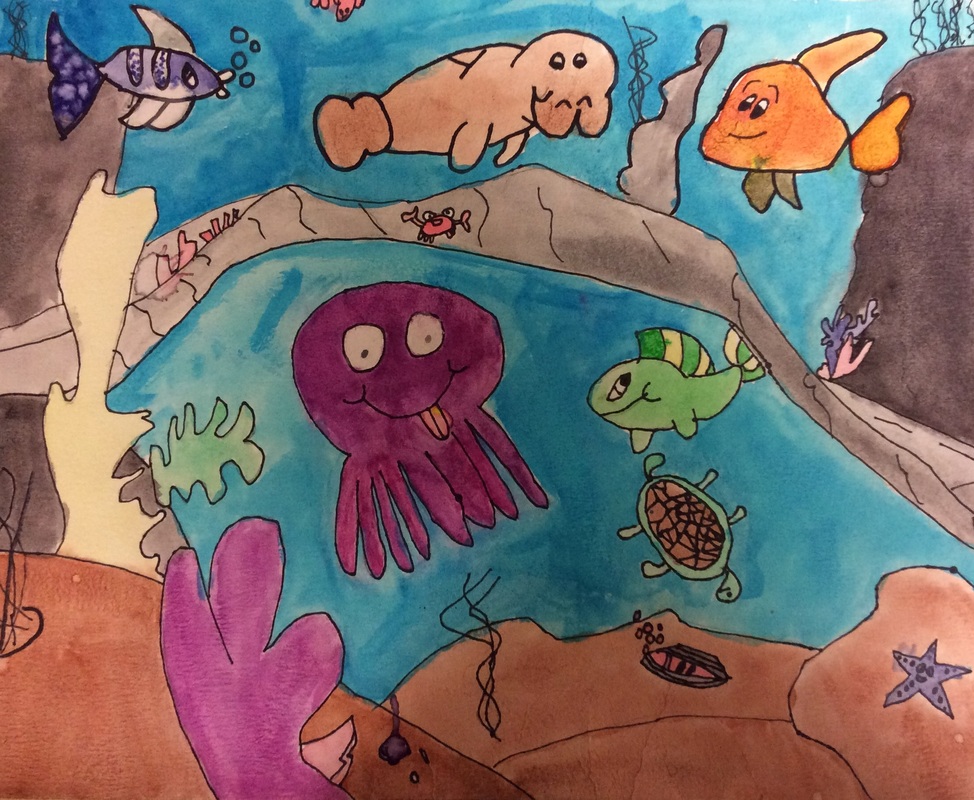
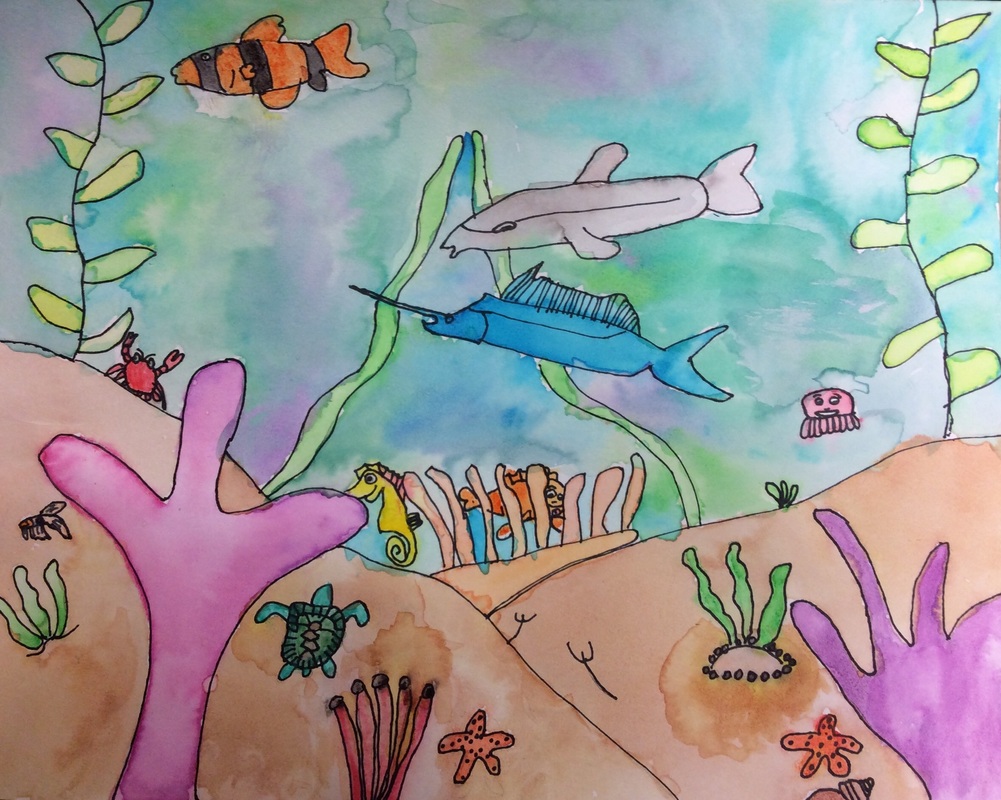
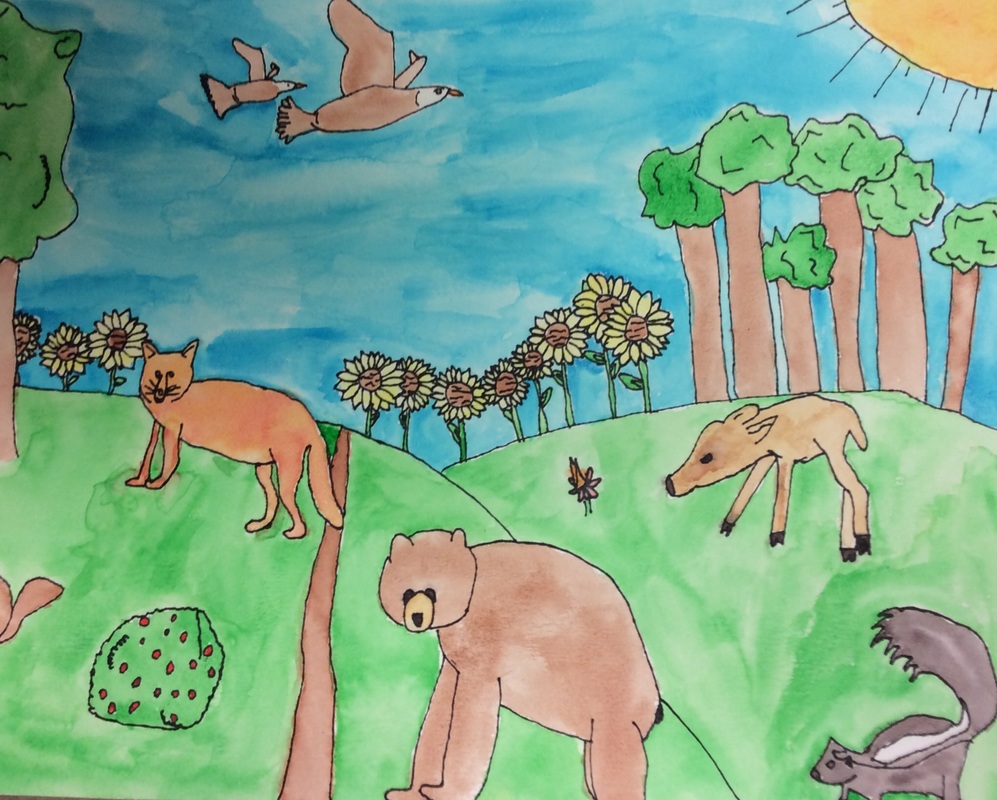
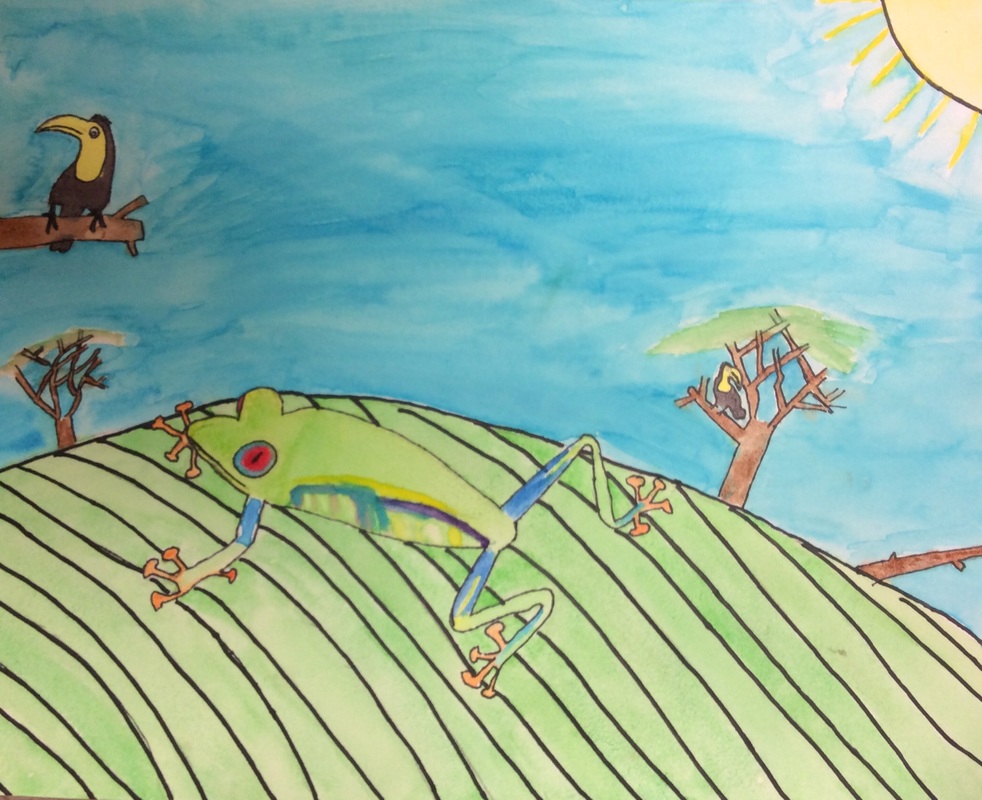
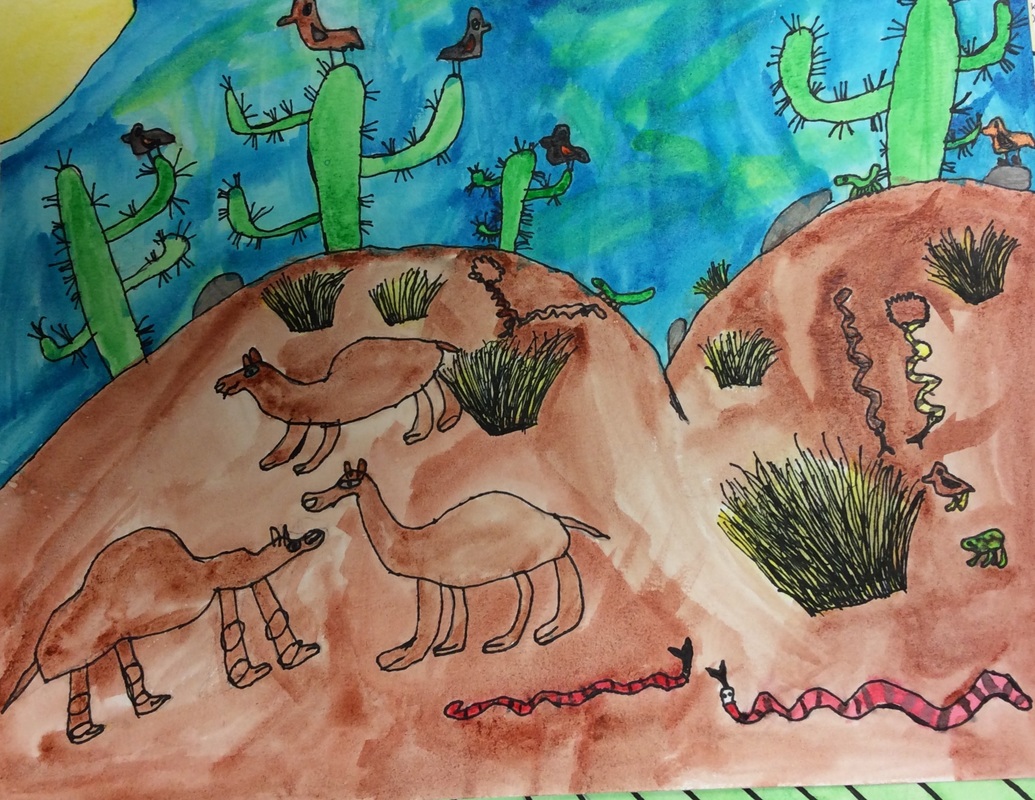
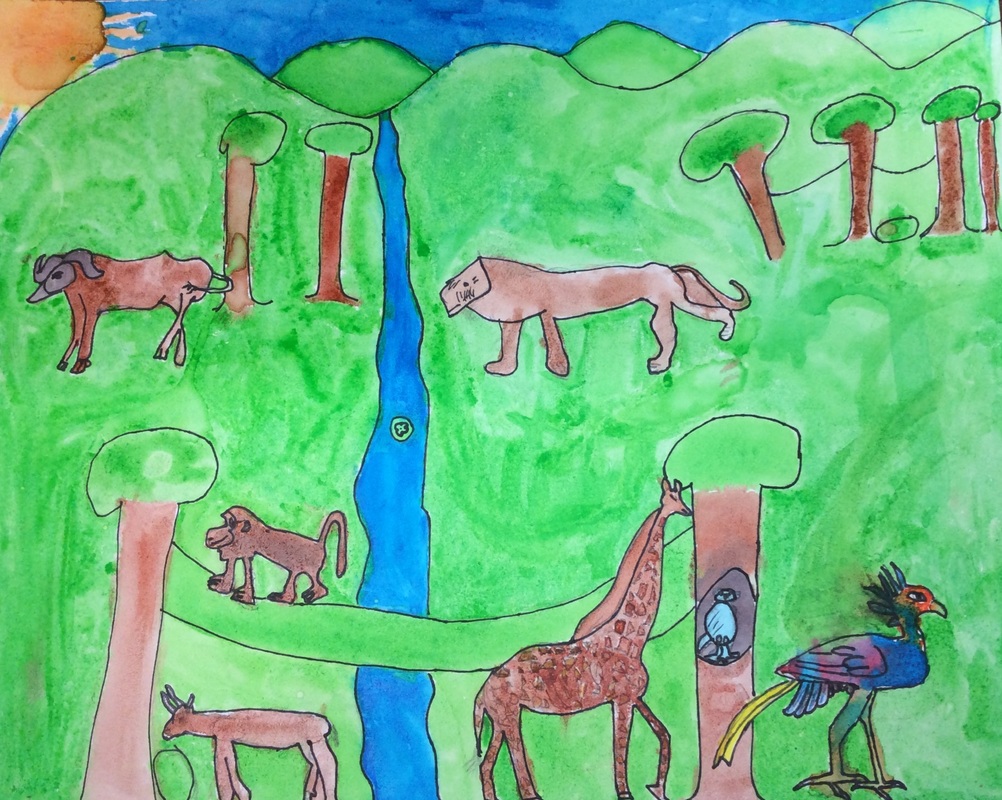
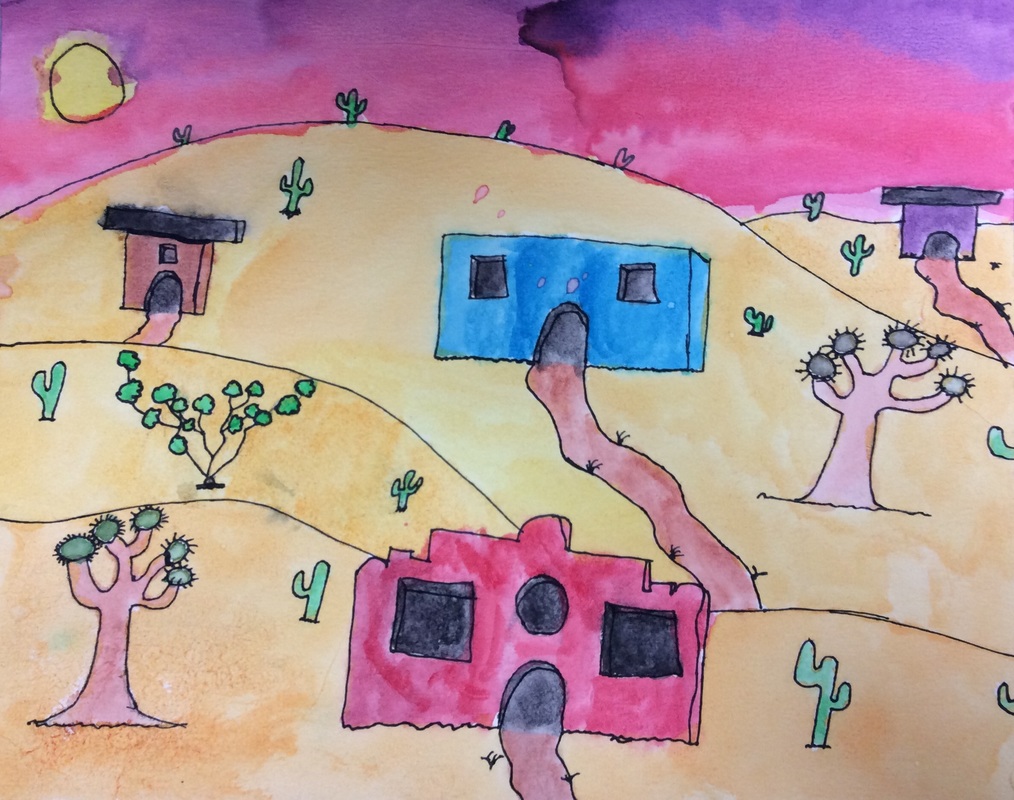
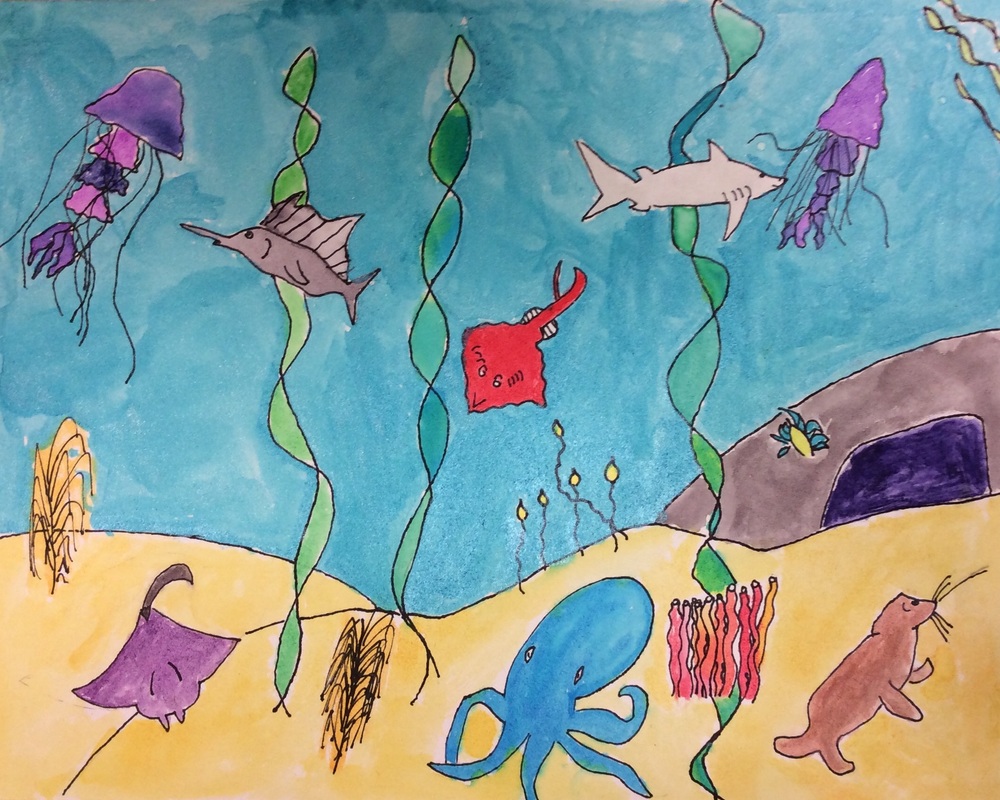
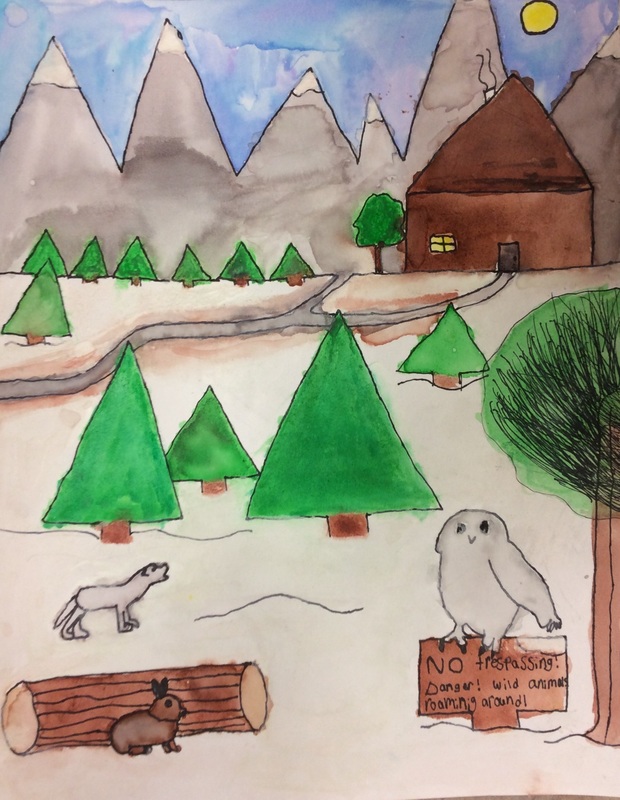
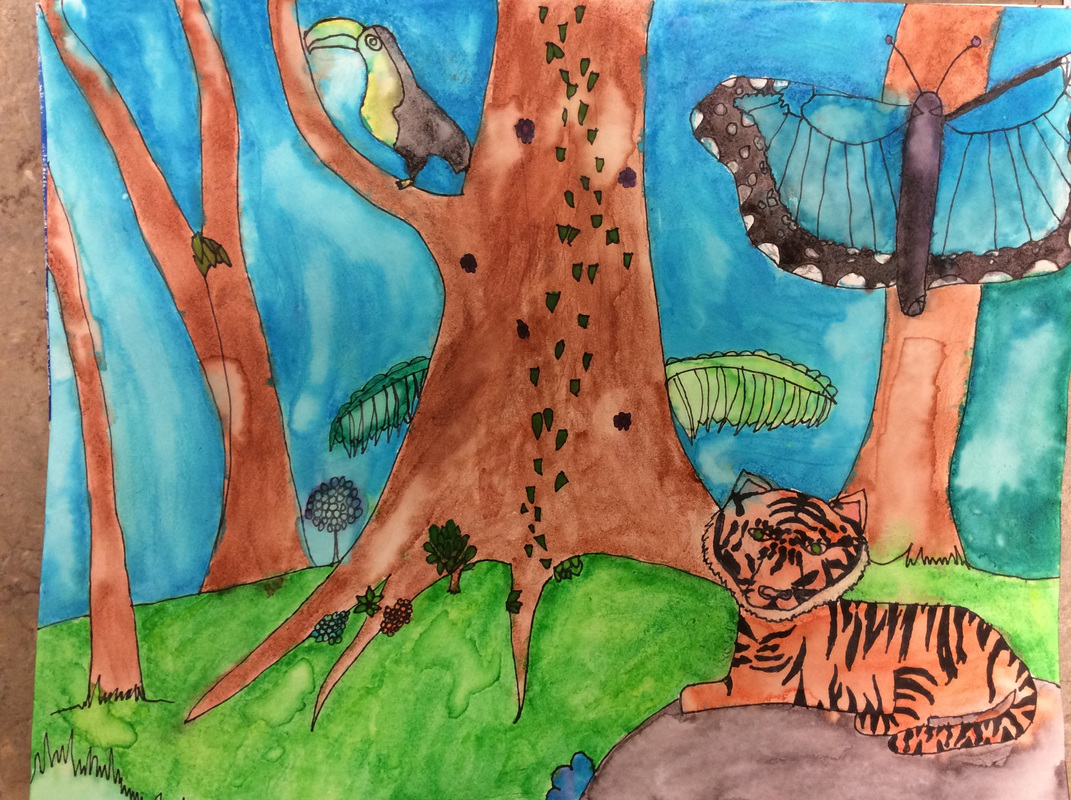
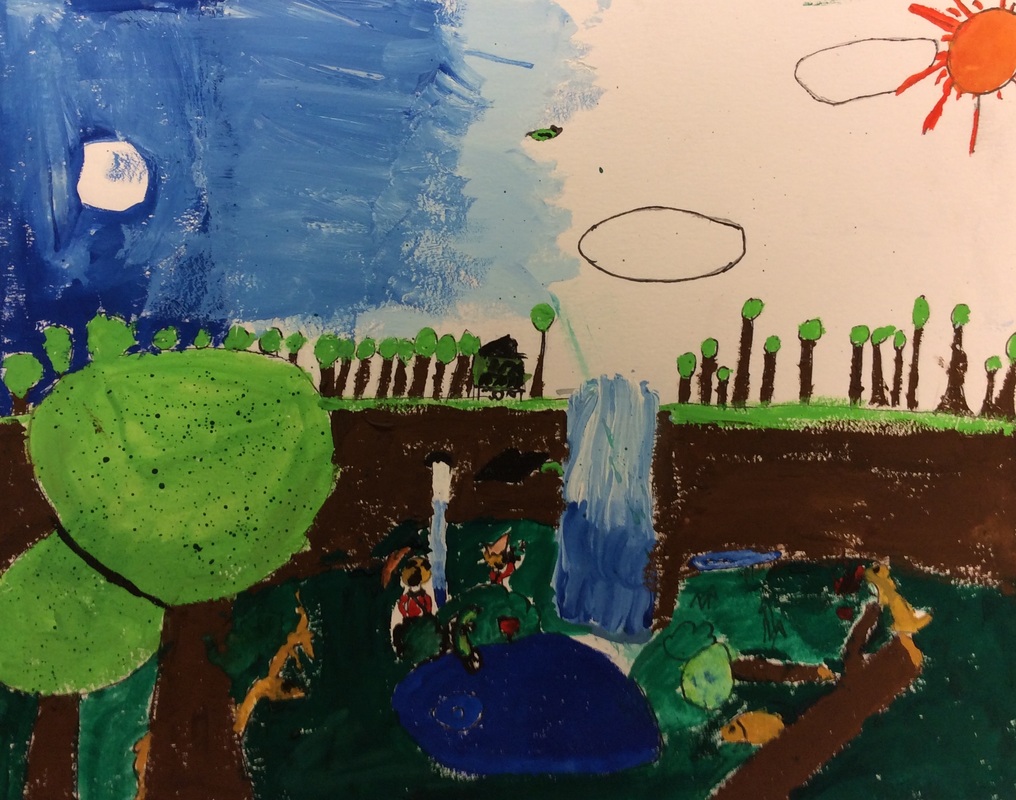
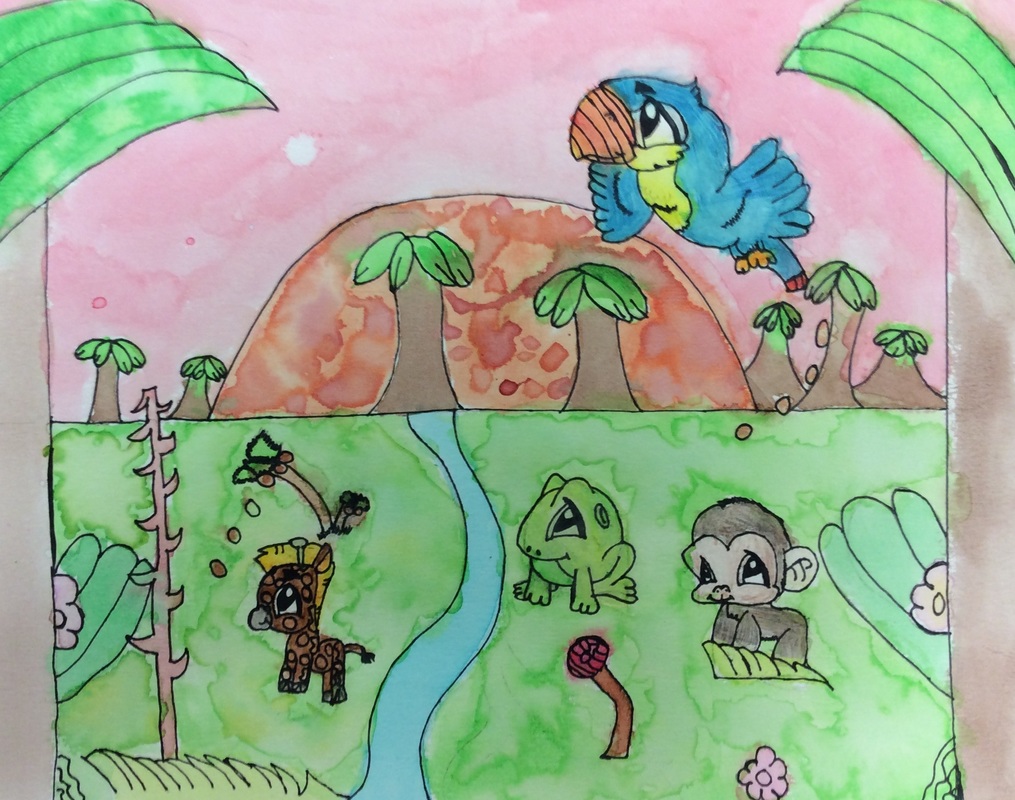
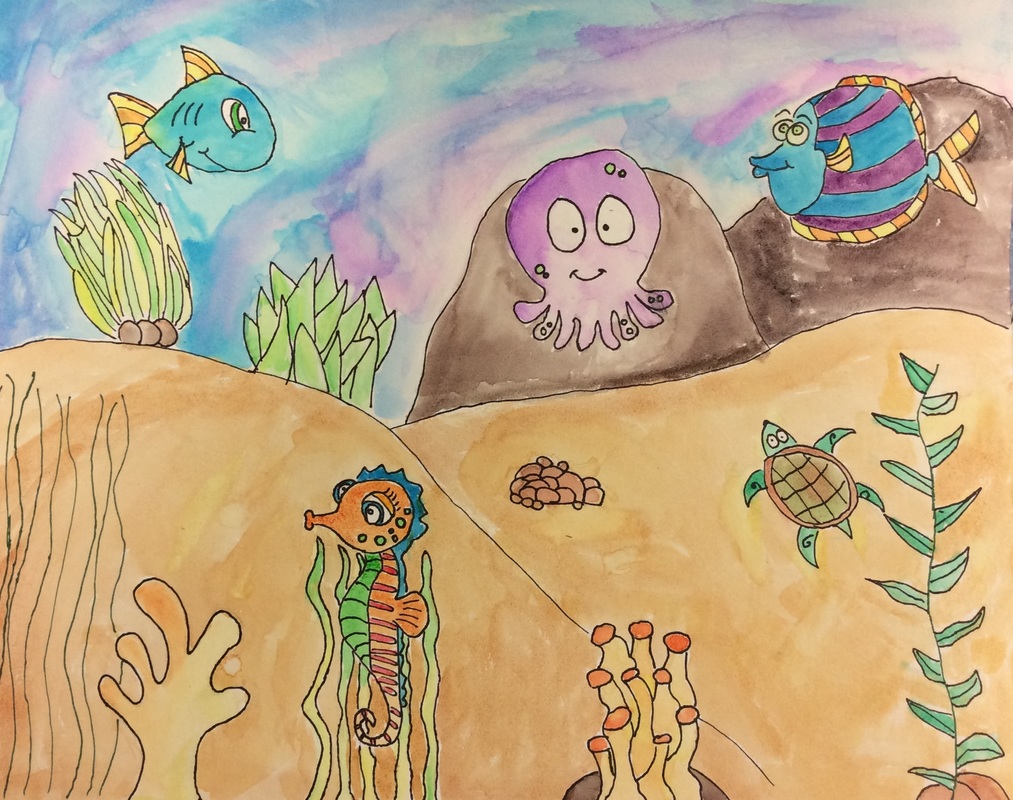
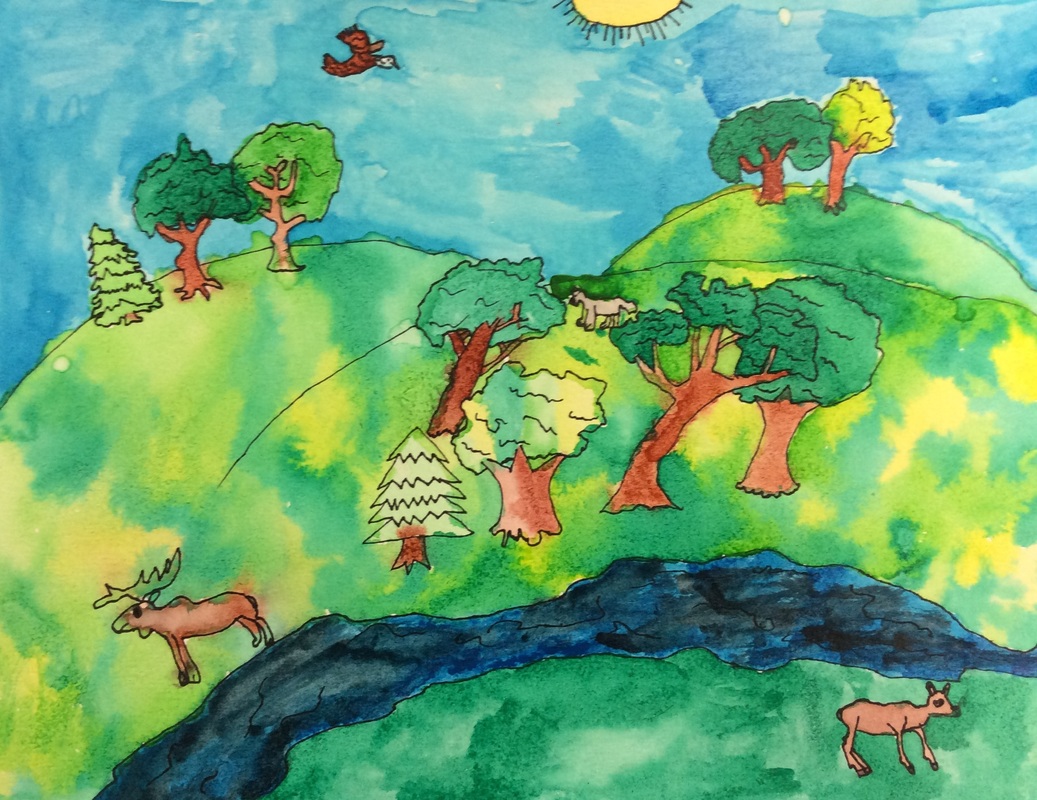
STudent gallery